
Start with the real cut size, not the sheet label
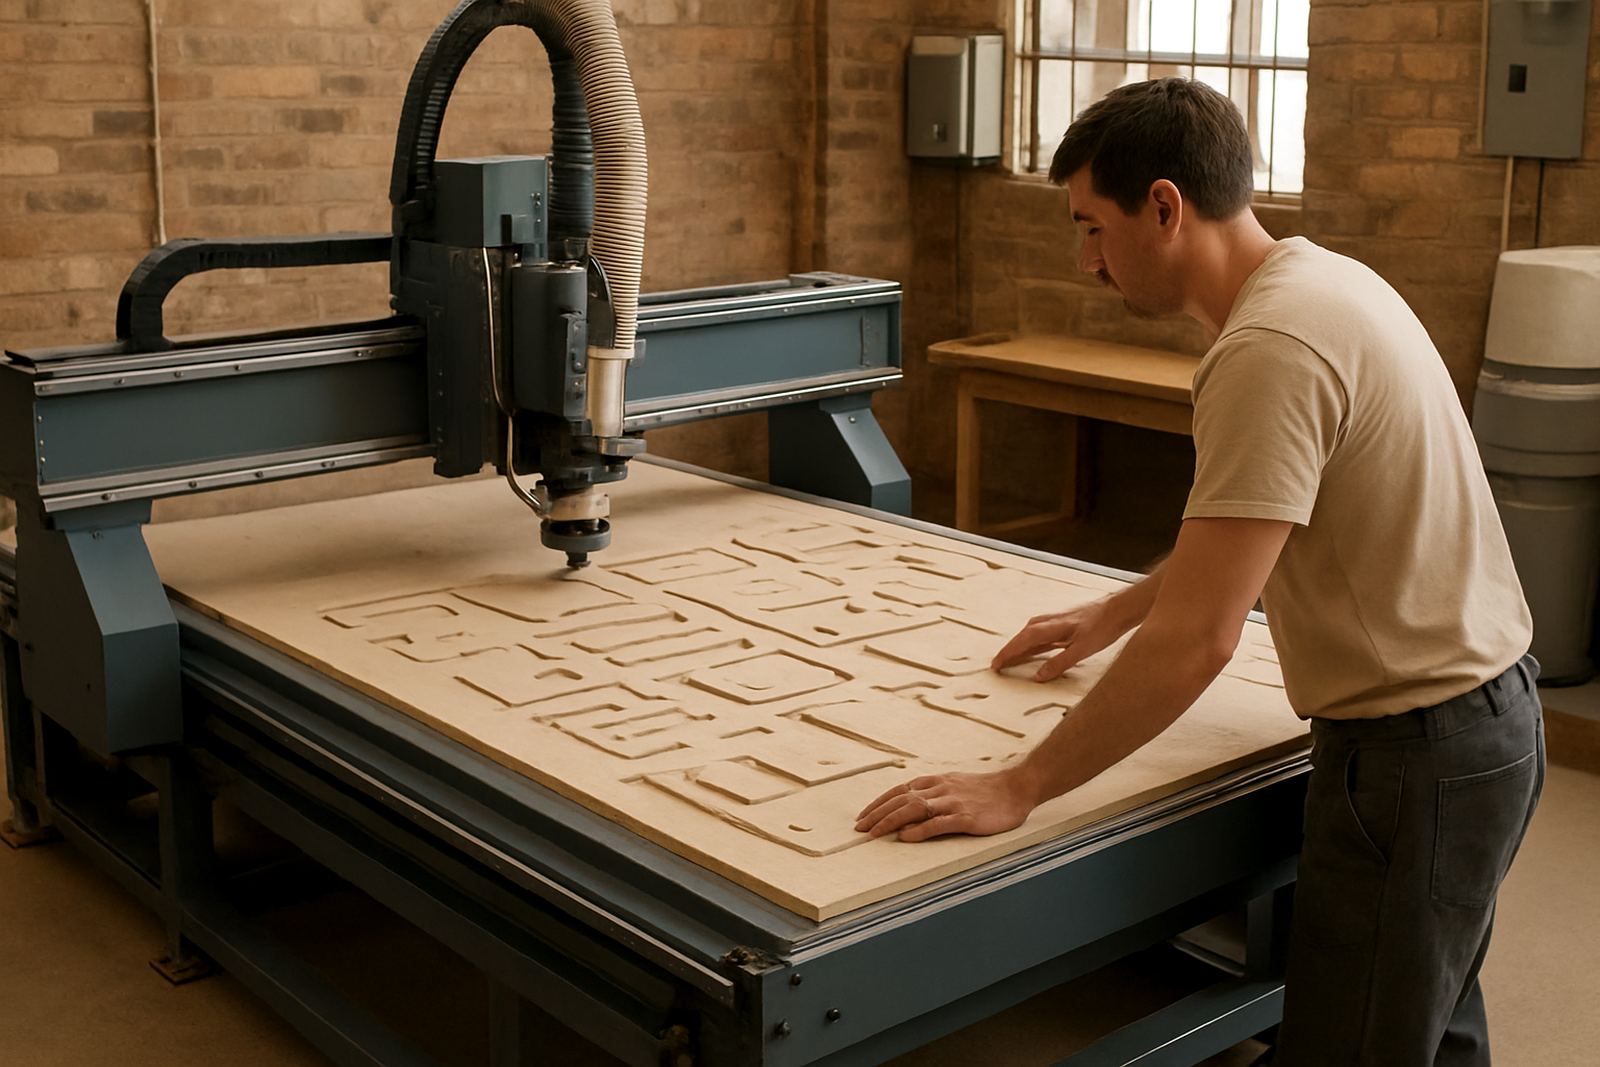
Many yield problems begin before the first toolpath is created. A board marked 2440 x 1220 mm is not always usable right to the edge, especially when material arrives with warp, damaged corners, or a slight size variation from supplier to supplier. If your team nests to the label size and only checks the actual panel after loading, the last parts often become a problem.
Measure the stock you actually have and build a small allowance into the job. For melamine, plywood and MDF, that extra few millimetres can be the difference between a clean edge banding job and a pile of offcuts. On humid coastal deliveries, panels can move enough overnight to affect fit, so it helps to confirm the sheet flatness before the operator starts loading.
Keep part rotation smart, not random
One of the simplest ways to improve board usage is to allow controlled rotation. A part turned through 90 degrees can sometimes unlock an entire extra row, but not every component should be rotated just because space is open. Grain direction, veneer match, laminate pattern and cabinet side orientation all matter.
A practical rule is to define which parts may rotate and which must stay fixed. That makes the nesting software do the saving work without creating confusion at assembly. It also helps on repeat jobs, because the operator does not need to make judgement calls for every sheet.
- Allow rotation on plain internal components where grain is not visible.
- Keep fixed orientation on doors, drawer fronts and exposed panels.
- Use left and right mirrored parts where the design allows it.
- Check that labels still make sense after rotation so picking stays simple.
Leave the right spacing for tool diameter and chip clearing
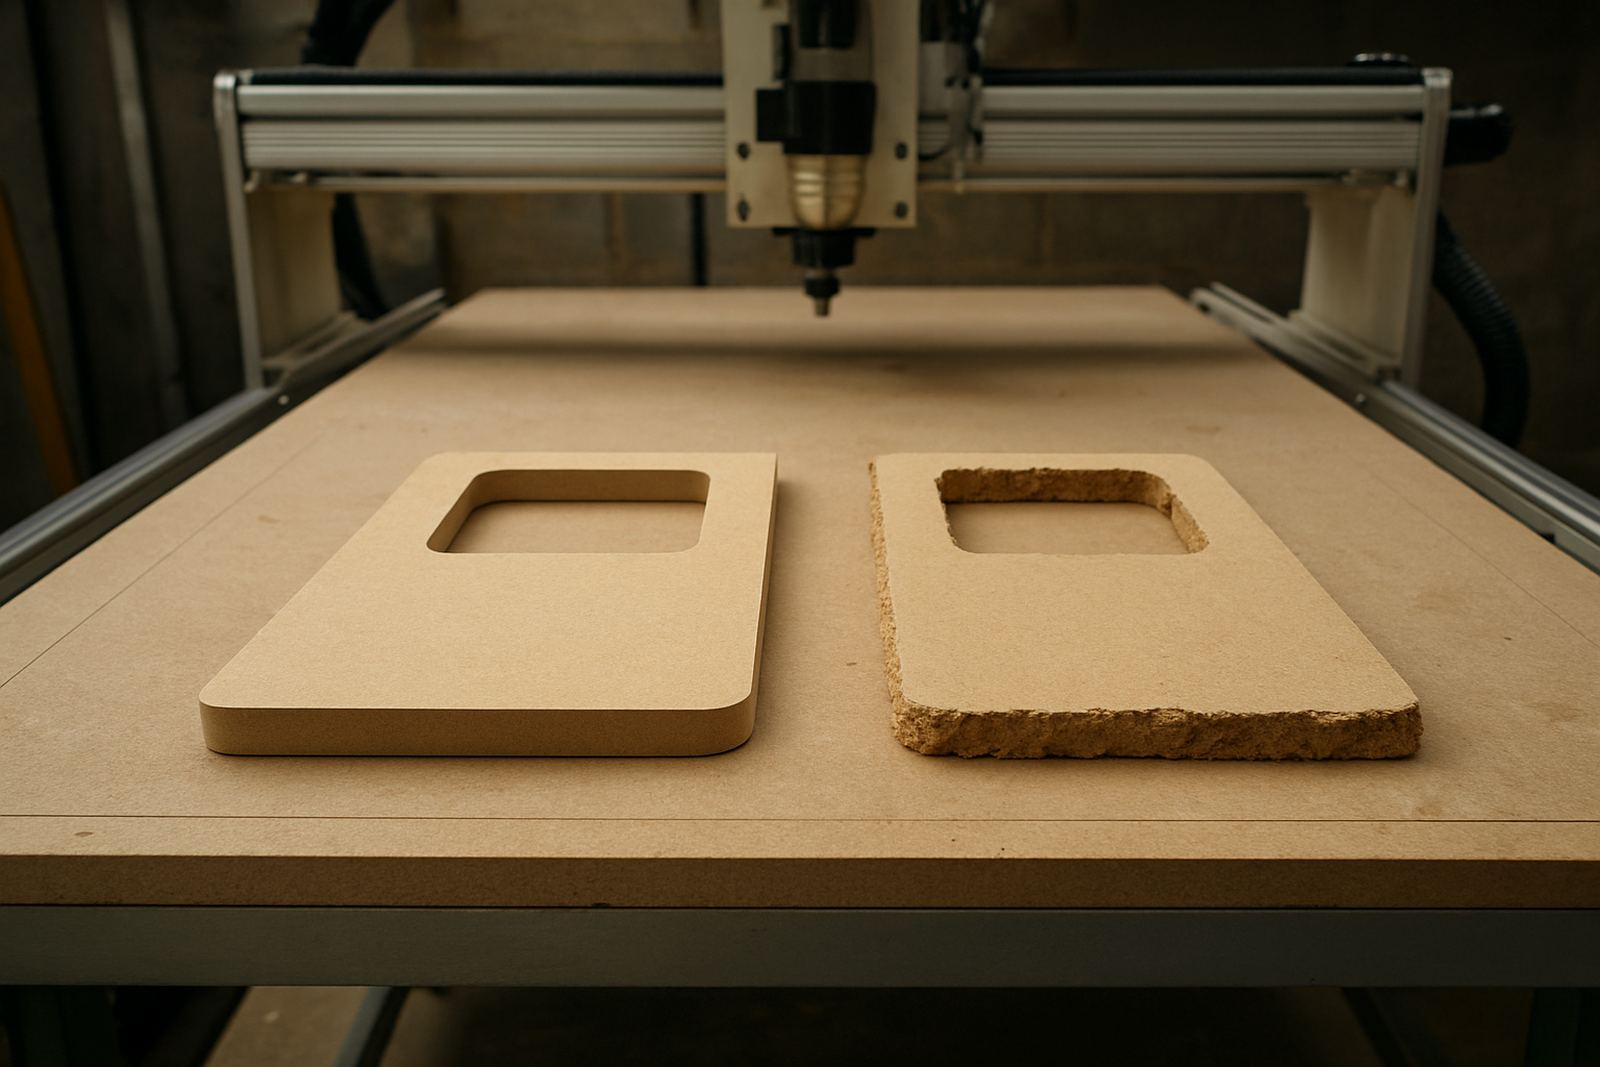
Some workshops chase yield by tightening every gap until parts sit almost touching. That can backfire. If the tool path leaves no room for clean cutting, dust clearing or proper tab strength, parts shift and break loose. The result is more rework, not better yield.
Spacing should suit the cutter, material and vacuum hold-down. Thin plastics may need different support from 16 mm board stock, and soft metals need their own safe approach again. Where the tool leaves a fine edge, a sensible gap also makes it easier to separate parts without chipping corners. On busy production floors, a slightly looser nest can sometimes run faster overall because the operator spends less time stopping to recover loose pieces.
Group jobs by material and finish so the board tells one story
Yield improves when similar jobs are grouped properly. Mixing high-gloss panels, melamine shelves and raw ply on the same sheet often creates handling delays and too much sorting. The operator has to think harder, which slows the cell down and raises the risk of placing the wrong part in the wrong stack.
If possible, group by thickness, finish and edge requirement. That allows the nesting pattern to follow a clear logic and makes downstream work easier. A clean batch of related parts is also easier to inspect for quality, especially when your team is moving between cutting, drilling and assembly in the same shift.
- Run one material family per job file where possible.
- Keep high-visibility parts together for easier quality checks.
- Separate rough stock from finished faces to avoid scuffing.
- Use clear part labels for the next process, not just for cutting.
Use common offcuts on purpose instead of treating them as waste
Not every offcut is scrap. In many South African workshops, the difference between a tight margin and a healthy margin is how the small pieces are planned. Shelf strips, filler panels, packing pieces and small internal components can often be nested into the spaces that larger parts leave behind.
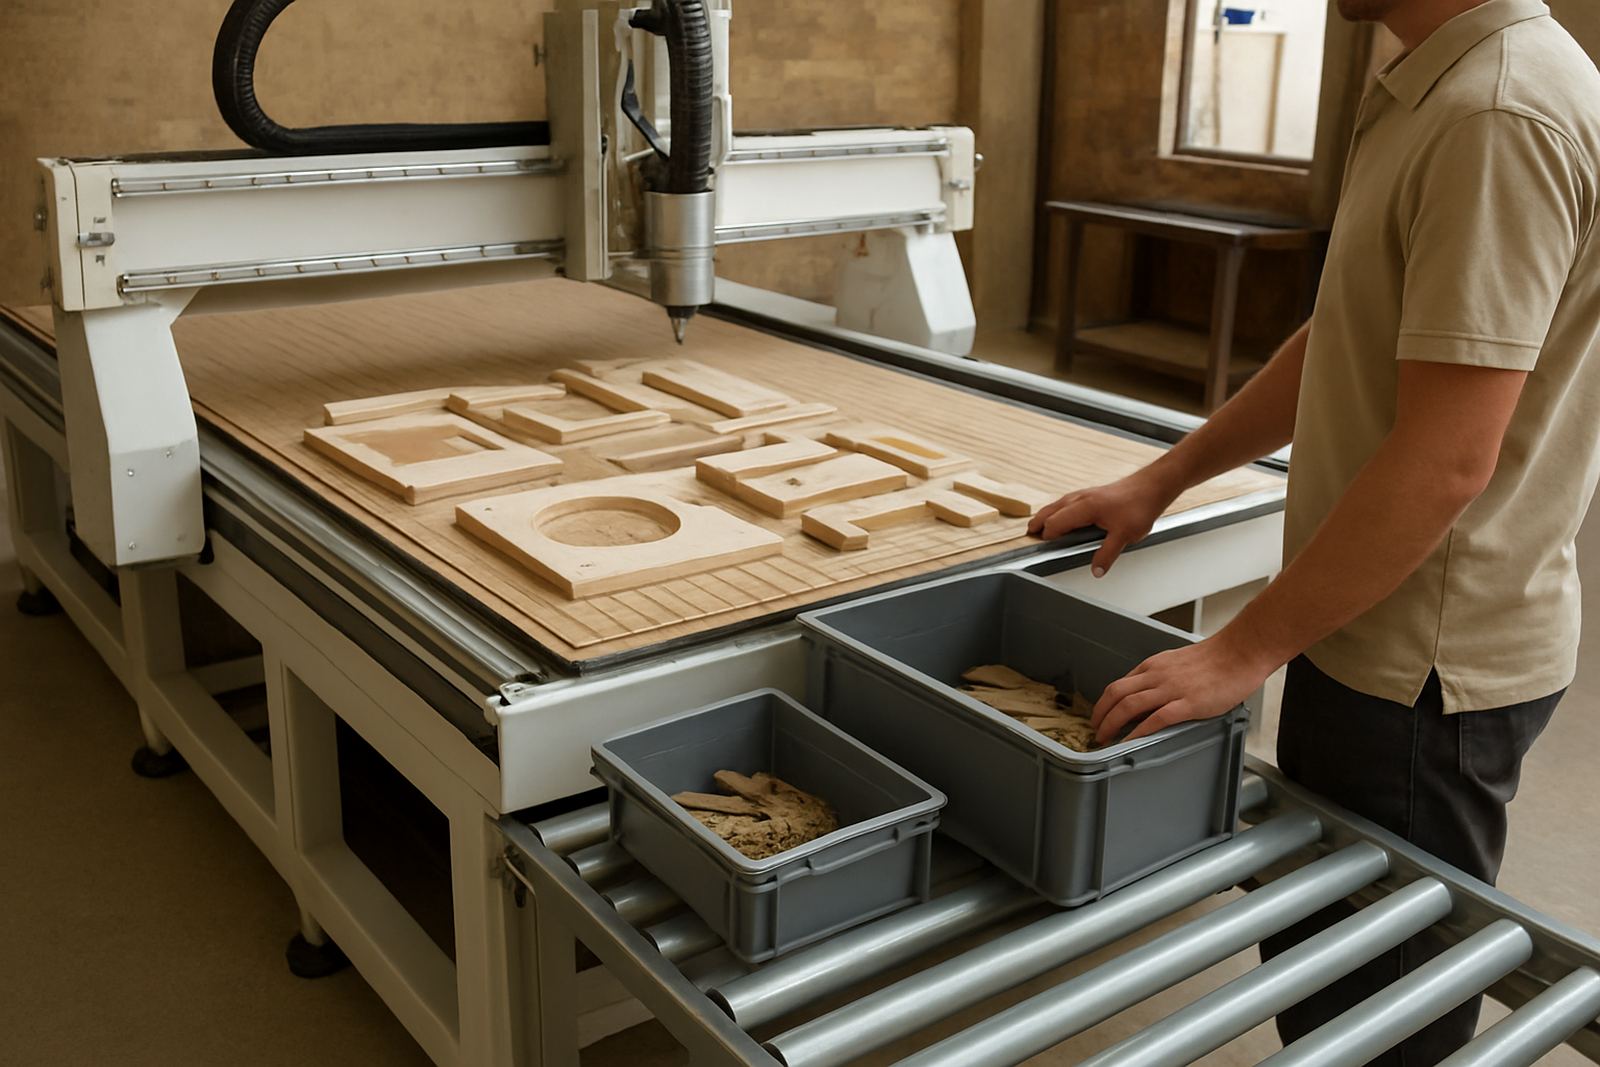
The trick is to build a library of approved offcut sizes and use them on purpose. If the team knows which sizes are worth keeping, the store area stays usable and nobody wastes time digging through a pile of random pieces. This is especially useful in Germiston, where many fabricators work with mixed job sizes in the same week and need the shop floor to stay organised.
For example, a cabinetmaker in Johannesburg East may be running kitchen carcasses in the morning and retail display parts in the afternoon. By planning a second group of small components into the leftover strips from the main nest, the workshop can lift sheet value without adding another operator or another machine.
Match the nest to the machine, dust extraction and operator skill
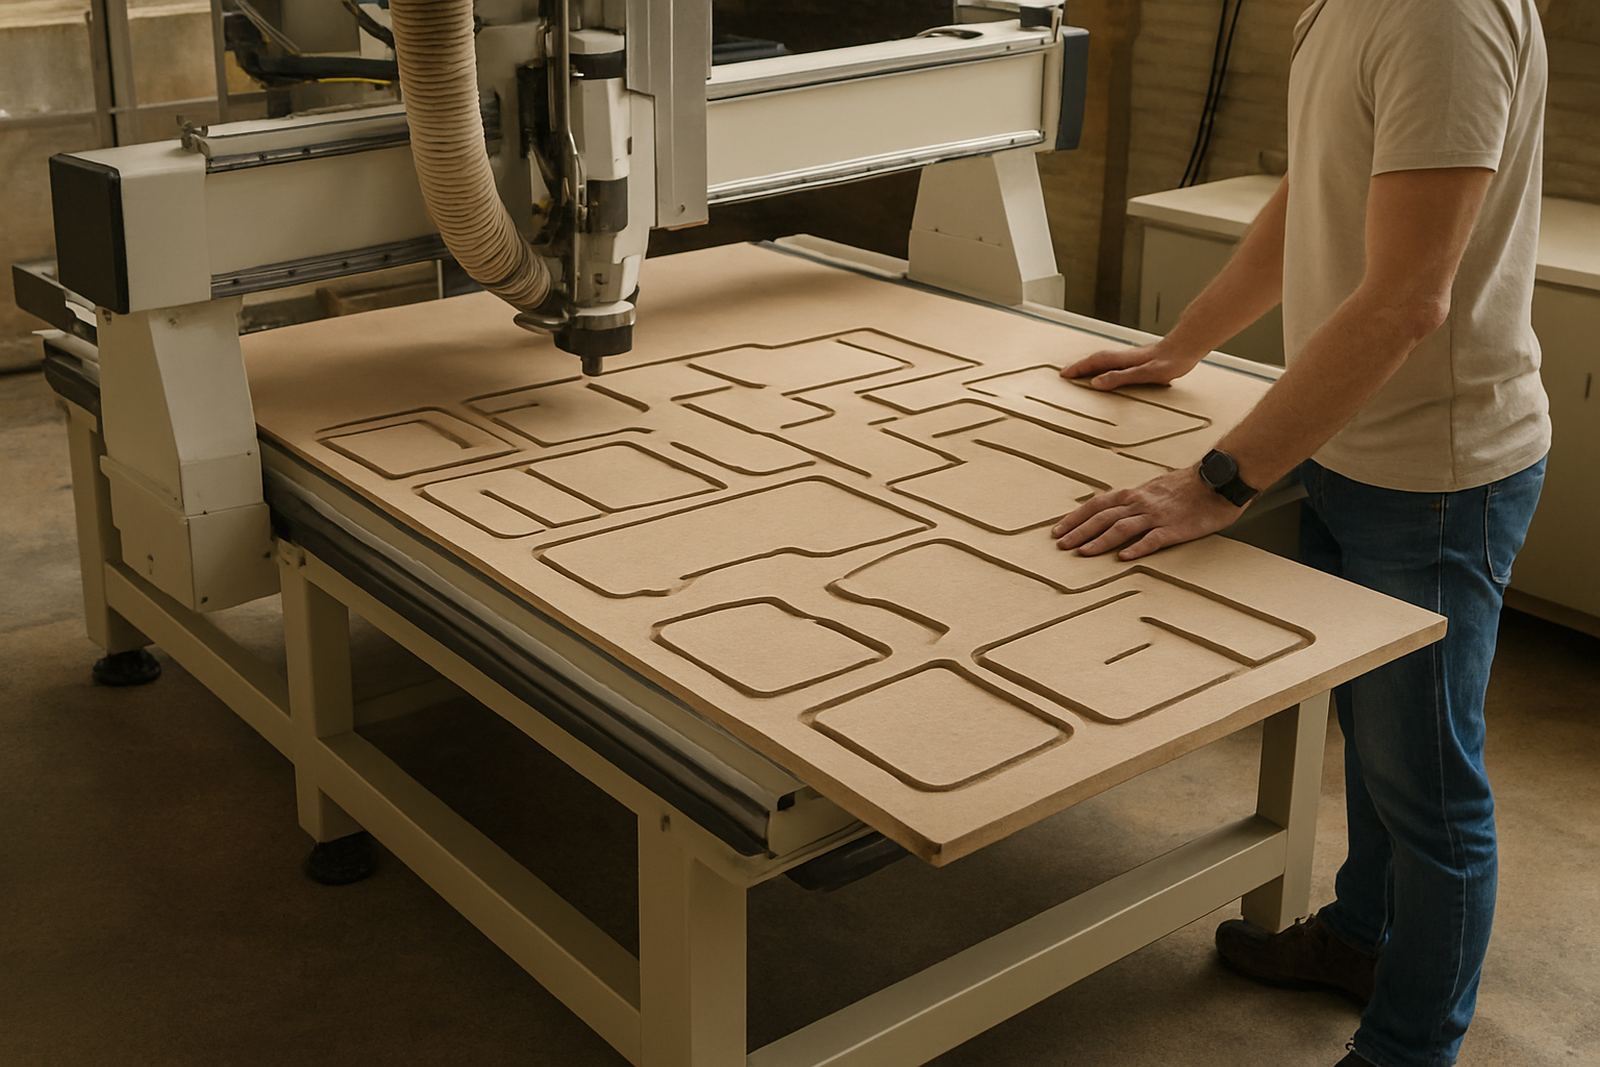
Good nesting is only useful if the machine can run it reliably. Long, thin parts that need careful hold-down may be fine on paper, but difficult if the vacuum table is leaking or the dust system is under-sized. The same applies to very dense nests that leave little room for safe unloading.
It helps to balance yield against the real pace of the workshop. If the cutter is full all day but the operator struggles to clear parts, the gain is lost. A better pattern is often one that cuts slightly fewer parts per sheet but moves cleaner from loading to final stack. That is where operator training, vacuum leak checks and dust system balancing make a real difference.
- Check hold-down before pushing tighter nests into production.
- Keep tabs or micro-joints strong enough for your material.
- Set part spacing to suit your extraction and clearing method.
- Use controller backups so proven nest files are not lost.
Review the cut sheet after the job, then keep the good choices
The best yield gains often come from small adjustments after the job is complete. Look at where the board was wasted, which parts caused trouble, and where the operator had to stop. That review only takes a few minutes, but it can shape the next batch of sheets very well.
If a certain panel type keeps leaving awkward strips, adjust the layout rule rather than forcing the same pattern again. If one machine setup handles narrow parts better than another, note that in the job record. Over time, the workshop builds a practical library of what works for its own materials, climate and staff. That is more valuable than chasing a perfect-looking layout that slows everything down.
In Pretoria East, a furniture shop working through dry winter air may get one result, while a Durban North team dealing with humidity sees another. The same nesting file can behave differently once sheet flatness, vacuum grip and handling conditions change. The point is not to make nesting clever for its own sake, but to make production calmer and more predictable.