Where pod and rail setups earn their keep
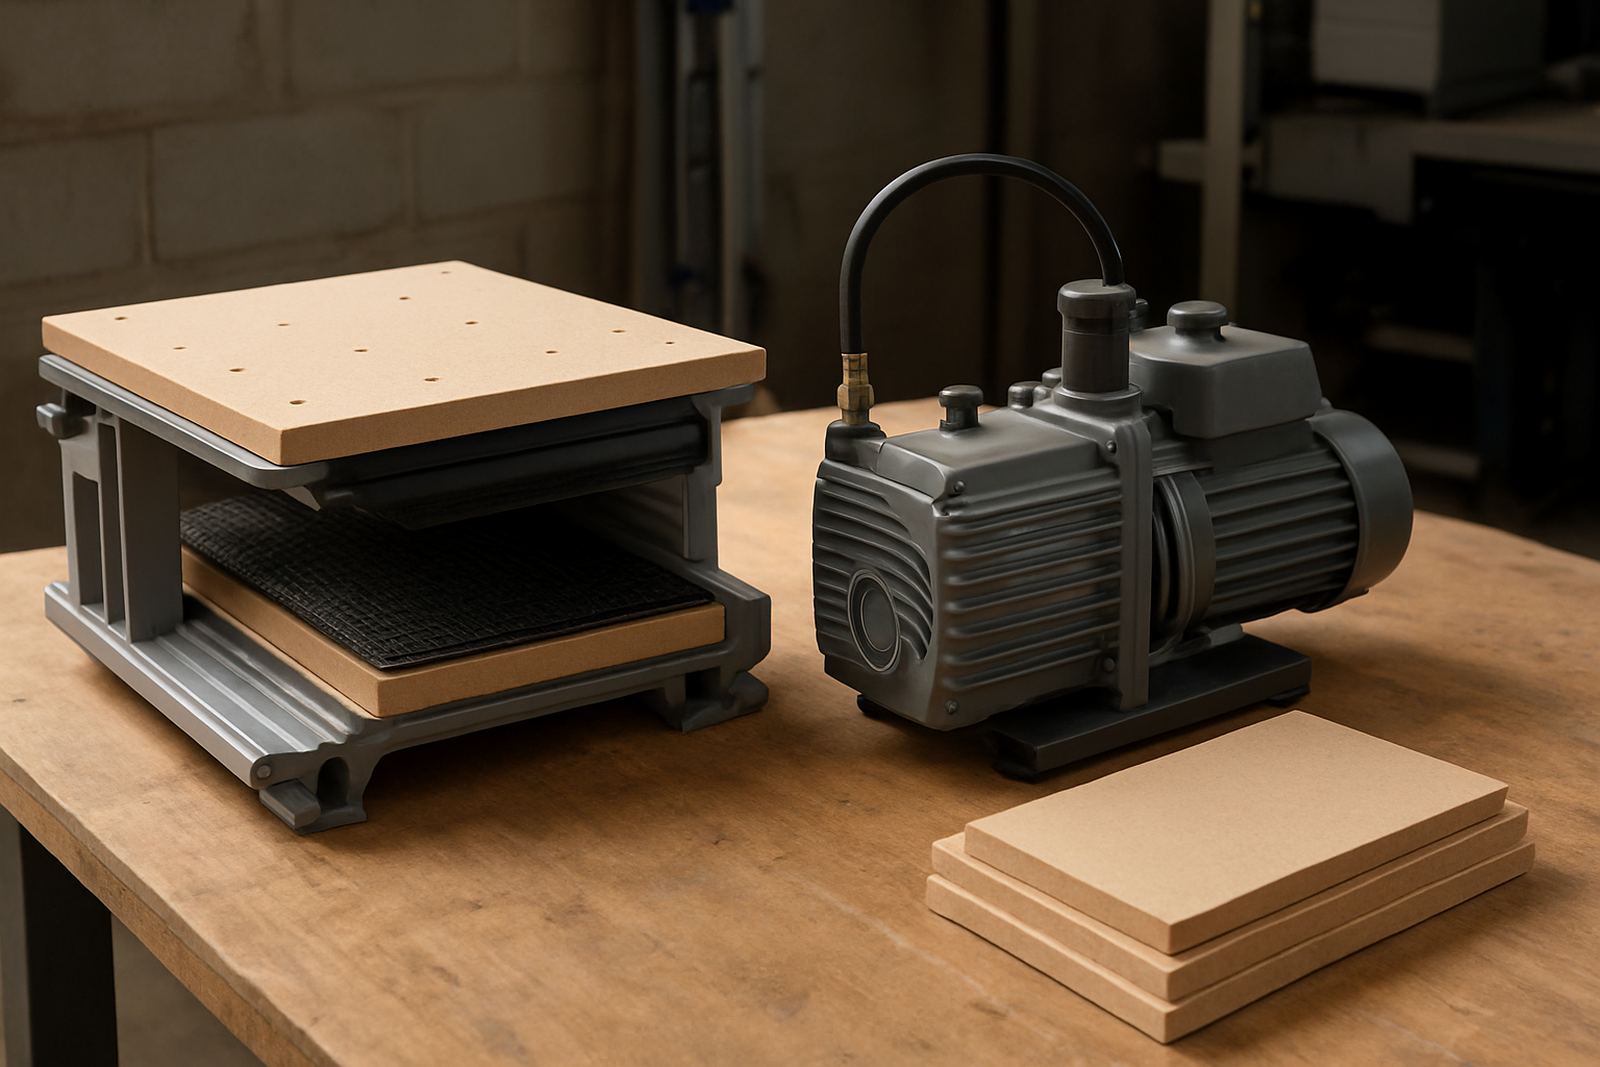
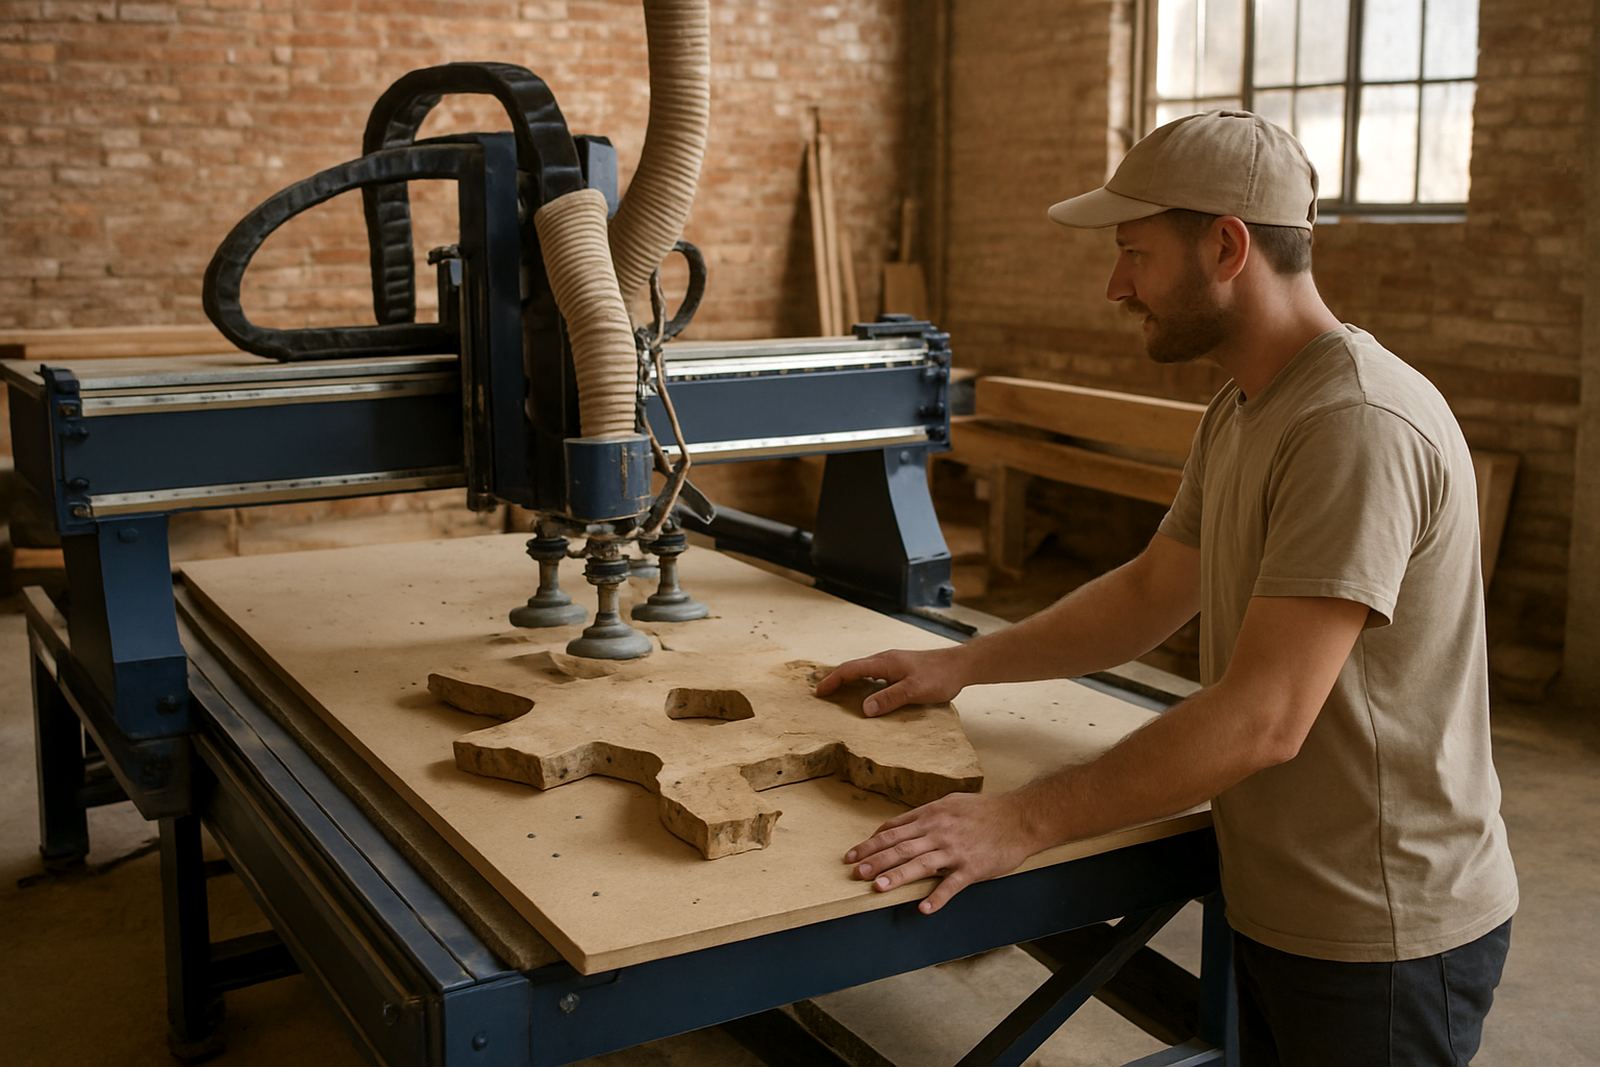
Pod and rail tables are built for work that changes often. Instead of relying on one fixed spoilboard pattern, you use adjustable supports and rails so you can hold sheets, shaped blanks or fixtures without fighting the same clamp layout every day. That matters when a workshop cuts furniture parts one hour and jigs or routed components the next.
For South African fabricators, this flexibility helps with mixed batches and smaller production runs. It is also useful where humidity changes sheet behaviour, or where material thickness varies enough that fixed holding points become a nuisance. The aim is simple: keep the part stable, keep access clear and reduce setup time between jobs.
- Shaped workpieces and irregular profiles
- Fixtures for repeat parts and small batches
- Panels that need clear underside access
- Jobs where quick changeovers matter more than a full sacrificial board
Check your parts before choosing the table layout
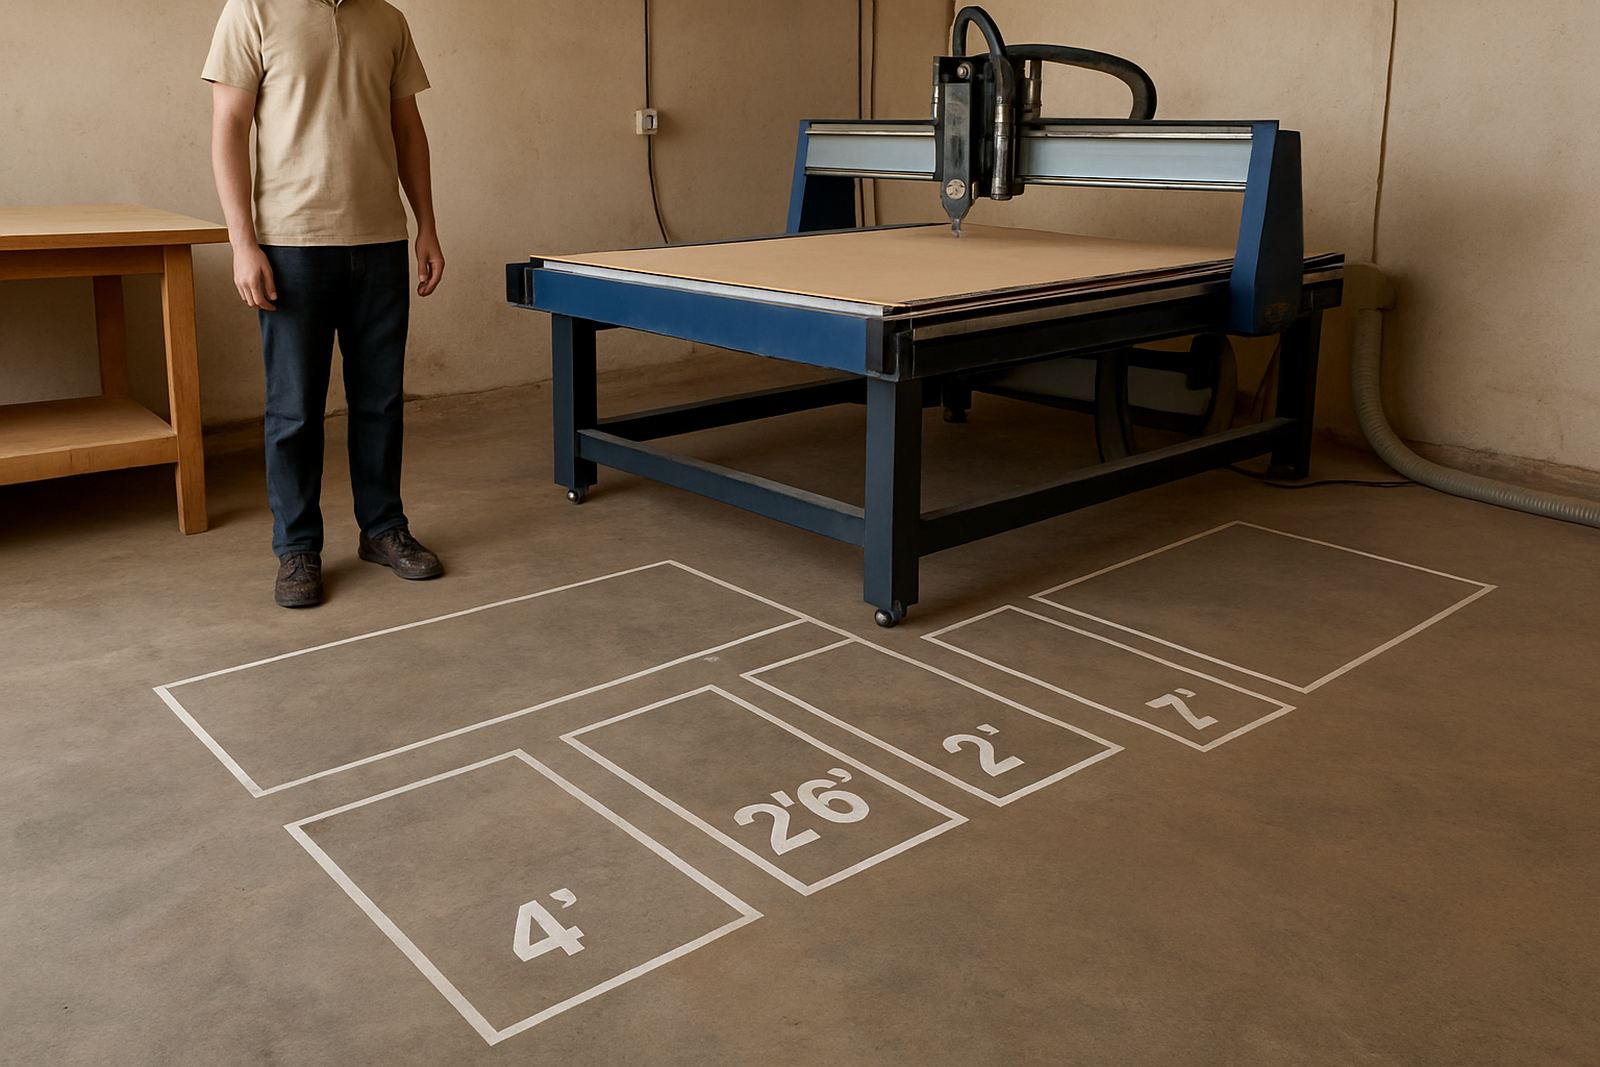
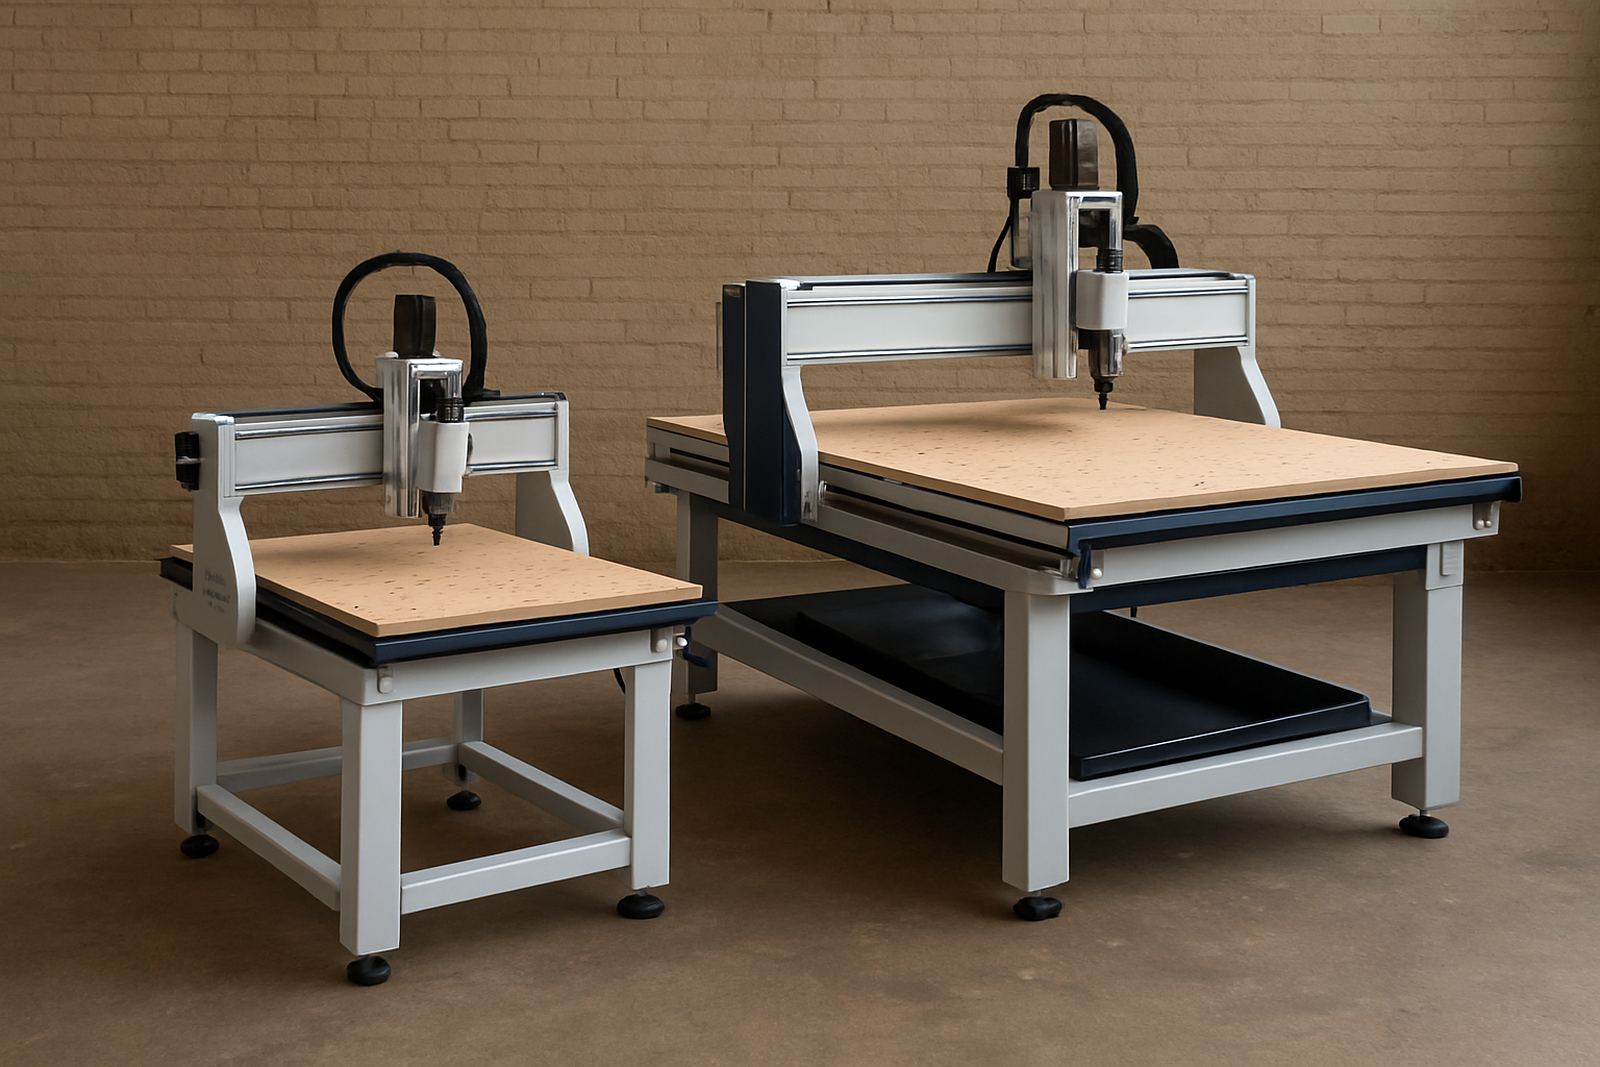
Before you choose a pod and rail format, look closely at the parts you cut most often. A shop that mainly runs full boards for cabinet panels has different needs from a sign shop cutting smaller sheets, or a joinery shop making curved components and one-off templates. The right layout should match your normal work not your rare jobs.
Measure the minimum and maximum part sizes, the thickness range and how often you need to flip a part for second-side machining. If your work uses hold-downs, stop blocks or custom fixtures, list those too. A practical review now saves a lot of adjustment later, especially where floor space and power supply are already tight.
- Common sheet sizes and offcut sizes
- Material types: MDF, board, acrylic, plywood, aluminium or composite sheet
- Need for second-side access
- Frequency of changeovers and fixture swaps
Set the pods, rails and clamps for real workshop conditions
Good setup starts with alignment. Pods should sit where they support the actual load, and the rails need to stay square so the table does not fight the machine during loading. If the layout is rushed, parts can lift at corners or shift when the cutter changes direction, which is how finished edges get ruined.
Check that your vacuum zones, mechanical clamps and support blocks suit the material thickness you run most often. In a humid coastal workshop, seals and hoses may need more attention. In Gauteng, dust build-up around the table and rails can cause poor seating if cleaning is skipped. A quick daily wipe and a proper weekly inspection go a long way.
Keep a written setup note for each repeat job. That way the team can return to the same pod positions, rail spacing and clamping pressure without guesswork.
Tooling and hold-down choices for cleaner cuts
Pod and rail systems work best when the cutter, hold-down and feed rate are matched to the job. A part held too lightly will chatter or creep, while over-clamping can mark the face or distort thin material. For nested parts, sharp tooling and the right cutter length matter as much as the table itself.
When you are cutting plastics or soft metals, keep chip clearance in mind so heat does not build up around the support points. For wood-based panels, avoid placing pods where the cutter will break through unexpectedly. If you use spoil strips or temporary packers, keep them consistent and replace them before they crush or warp.
- Use the shortest safe cutter length for better rigidity
- Match clamp force to material thickness and surface finish
- Leave clear cutter paths around pods and rails
- Replace worn packers and seals before they start causing drift
A practical setup checklist before production starts
Before every new run, work through a short checklist. It sounds basic, but it prevents most of the avoidable mistakes that cost time on the machine. It also helps when a new operator steps in after leave, a shift change or a power interruption.
If the machine has been moved, commissioned recently or sat idle during load-shedding, recheck home positions and tool zero points before cutting. Small changes in setup can show up as bad fit, poor edge finish or lost registration on repeat parts.
- Verify rails, pods and clamps are clean and seated correctly
- Check vacuum leak points and hose condition
- Confirm tool offsets and work offsets
- Run a dry test or air cut for new jobs
- Make sure the dust extraction path is open and balanced
Operator habits that keep the table accurate
The best pod and rail table still depends on the operator. Good habits keep the system accurate and extend the life of the table surface, seals and hardware. Train the team to treat setup as part of production, not an extra task that gets rushed when orders are late.
Use the same naming and notes for fixtures, save controller backups after stable changes and keep a record of any recurring hold-down issues. If one area of the table repeatedly loses vacuum or a rail no longer sits quite right, do not wait for it to become a breakdown. Sort it early and the machine stays predictable.
For workshops with several shifts or multiple users, a short handover note helps a lot. It should say what was cut, what tooling was used and whether any pod positions or clamping points were changed.
When to ask for machine support or relocation advice
If your current table arrangement is slowing production or causing repeat quality problems, it may be time to review the full setup. That includes machine installation, commissioning, relocation, spindle service, vacuum leak checks and dust system balancing. A pod and rail table only works properly when the machine, extraction and workflow all pull in the same direction.
For Germiston and greater Johannesburg workshops, MultiCAM can help with selection, setup and operator training, with support across South Africa through local service areas including Midrand, Pretoria East, Durban North and Cape Town North. If you are planning a move or adding a second machine, get the layout checked before the first job is loaded.
Clear setup advice saves material, time and arguments on the shop floor. That is true whether you cut panels in Gauteng or run mixed work near the coast.