1. Confirm the machine footprint and working clearances
Start with the actual machine size, not the floor space you think you have. Measure the route from the loading point to the final position, then check door widths, roller shutter heights, tight corners and any ramps. If the machine must pass through a shared yard or a narrow warehouse bay, allow extra room for pallet jacks, lifting gear and the installation team.
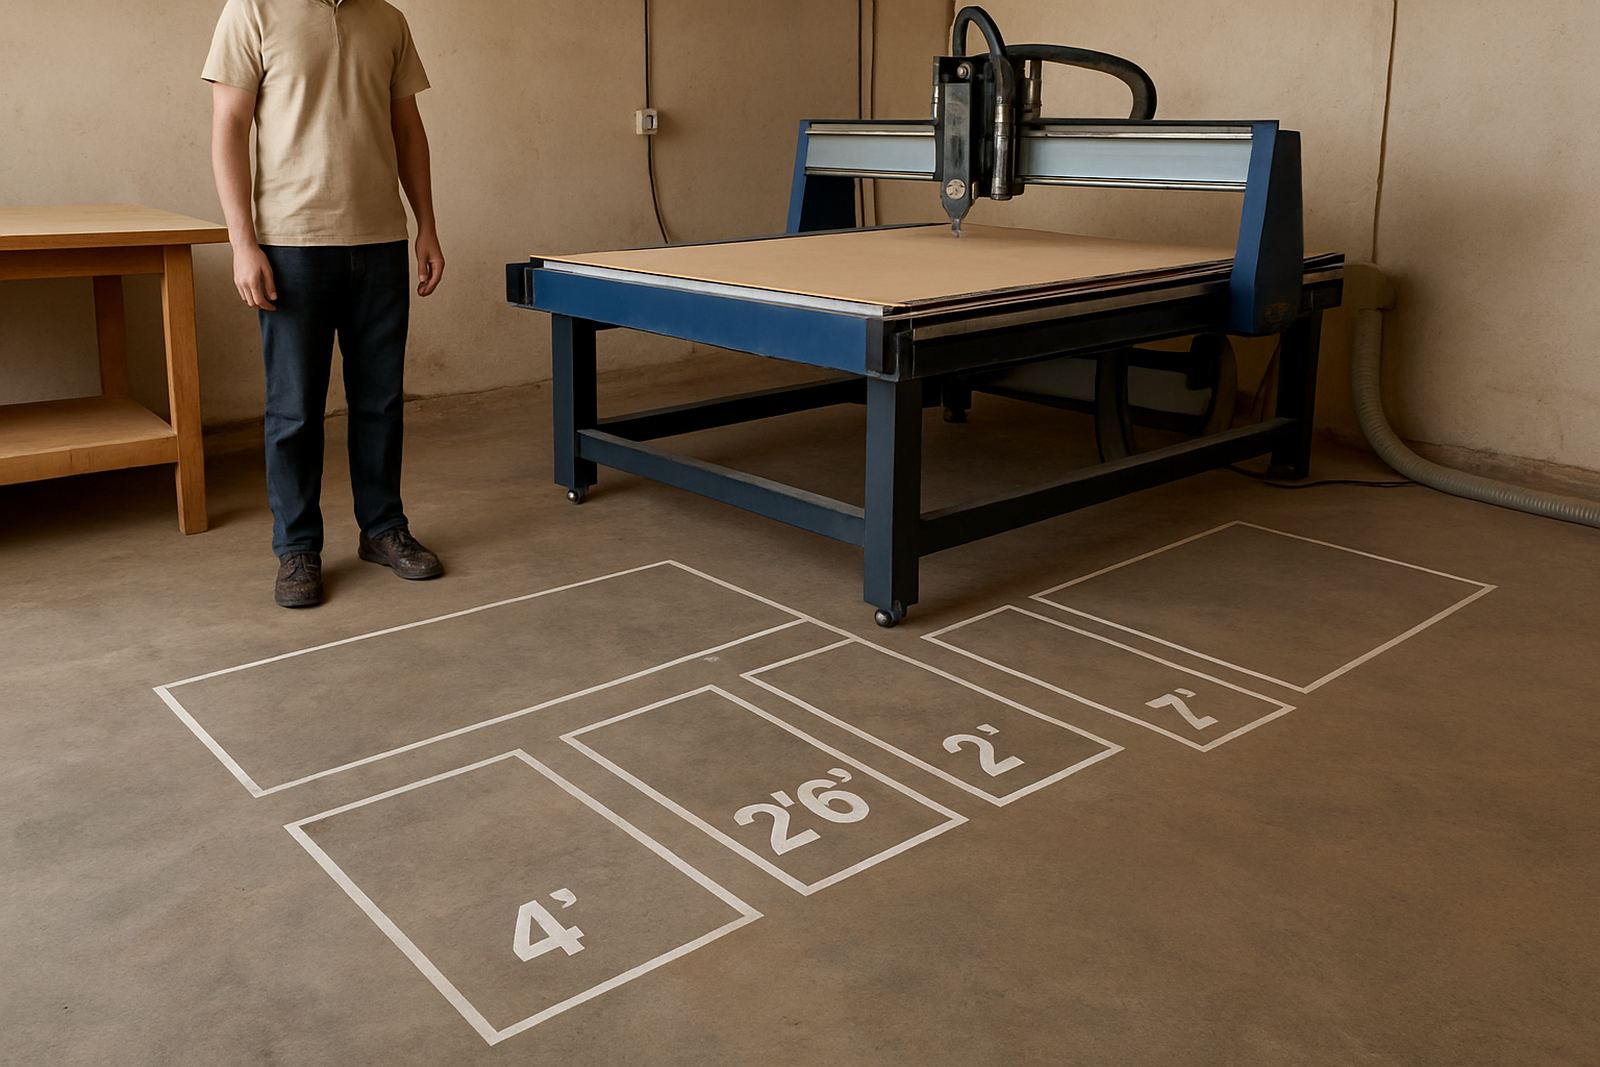
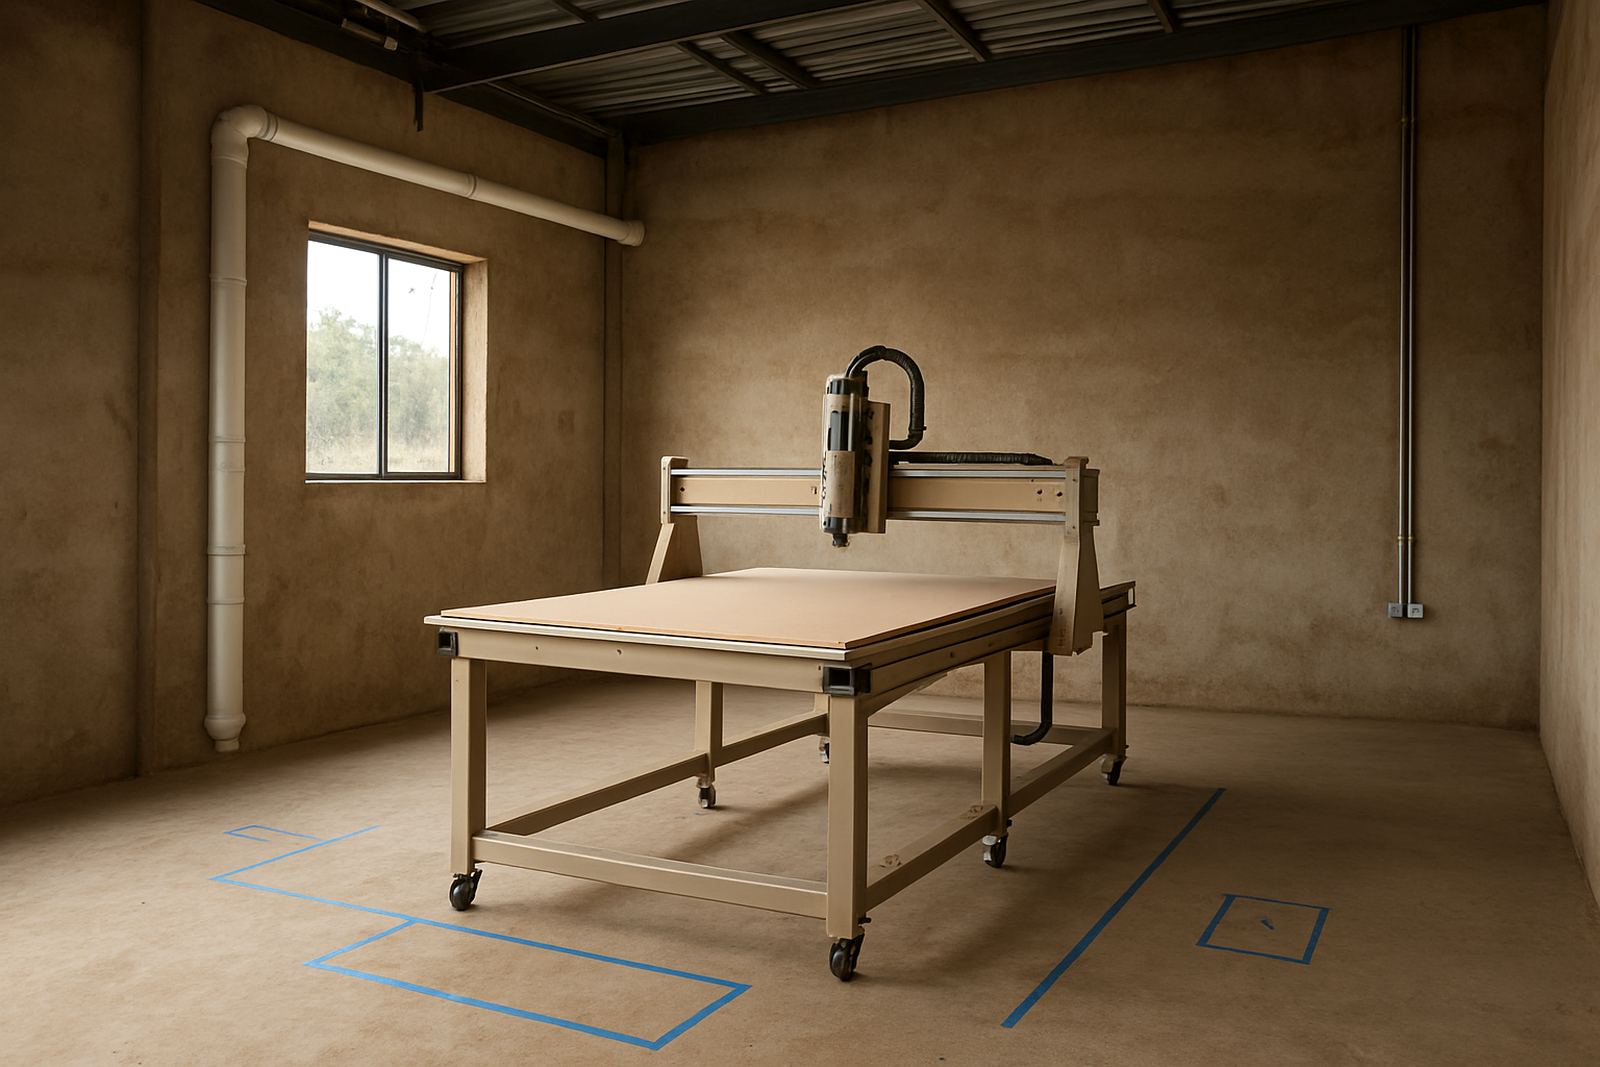
Leave clear space around the machine for loading sheets, changing tools and opening access panels. A corner that looks usable on paper can become blocked once the dust extractor, compressor lines and control cabinet are in place. For most workshops, it helps to mark the machine outline on the floor with tape before install day. That gives everyone a clear picture of the final layout and helps avoid costly preperation mistakes.
2. Sort power supply, earthing and voltage checks early
CNC routers need stable power. Before install day, confirm the available supply, breaker size and earthing arrangement with a qualified electrician. Do not wait until the crew is on site to find out that the circuit is undersized or the board has no spare capacity. In many workshops, load-shedding makes voltage swings and restarts part of daily life, so proper protection and clean wiring matter.
Ask for the supply point to be clearly marked and easy to isolate. Keep extension leads out of the plan unless the installation team has agreed to them in advance. For South African sites, especially older buildings, it is worth checking for loose terminations, damaged plugs and poor earthing before the machine arrives.
- Confirm the supply voltage and phase type with the electrician
- Check breaker size, cable run length and earthing continuity
- Provide a clean isolation point near the machine position
- Plan for surge protection where the site has unstable supply
3. Prepare the floor, base and sheet handling area
The machine needs a level, sound floor. Cracked slabs, uneven patches and soft spots can affect alignment and long term accuracy. If the floor has been repaired recently, give it enough curing time before machine placement. In damp coastal or basement style buildings, check for moisture rising through the slab because it can affect steel parts, tables and stored tooling.
Plan where sheets will be stored, loaded and offloaded. A router that cuts full sheets needs space for incoming material, offcut stacking and a safe way to move boards without bending them. Keep the feed path straight where possible and avoid placing finished part packing in the same route as raw material handling. Good floor planning also helps with dust control, because the extractor and waste bins can be placed where they will not block movement.
4. Map dust extraction, air movement and waste removal
Dust extraction is not an afterthought. It is part of the machine setup, and it needs a clear route from the spindle area to the collector or dust system. Keep duct runs as short and straight as possible, and make sure bends, hosing and branch points are planned before install day. Long, messy runs reduce performance and create cleaning problems later.
For workshops that cut MDF, board products and plastics, dust build-up can create a fast clean-up problem and a health issue. Agree where chips will be collected and how often they will be removed. If the workshop also uses compressed air for tool changes or cleaning, check that the air line is dry and that filters are serviced. On humid days, especially near the coast, moisture in air lines can lead to poor performance and extra maintenance.
- Identify the extraction unit position and duct route
- Keep hose runs short with gentle bends
- Plan waste bin access so chips can be removed easily
- Check compressed air quality if the machine uses pneumatic functions
5. Make access simple for delivery, offload and installation
Access planning saves time and avoids damage. Tell the team in advance about gate codes, security procedures, lift access, delivery times and truck restrictions. If the machine must be unloaded with a forklift or crane, confirm the lifting point, ground conditions and any municipal or site rules that affect road access. A clean route into the building is just as important as the machine itself.
Remove loose items from the path, including pallets, drums, scrap, cable reels and stored stock. If the site shares parking or loading bays with other tenants, arrange this early so the installation vehicle can get close enough to the entrance. The same goes for relocations between Germiston, Midrand, Pretoria East or Durban North sites, where traffic timing and access rules can affect the whole day.
6. Set up the people, tools and records before handover
A machine installs better when the right people are there. Nominate one workshop contact, one electrician and one decision-maker who can approve final placement. Keep drawings, tool lists, network details and any previous machine notes in one place. If the team is expecting operator training on the same day, make sure the operators are free from production pressure and can stay for the full session.
Also prepare the practical items that are often forgotten: the correct tooling, a clean bench area for parts, labelled storage for collets and cutters, and backup space for controller files. Good records make later service much easier, from controller backups to spindle checks and preventive maintenance. When everyone knows where things belong, the machine can get into production faster and stay there.
- Nominate a site contact for install day
- Have electrical and access details ready in writing
- Prepare tooling, spares and file backups
- Keep the first production jobs simple for initial testing