
Why spoilboard condition changes every cut
The spoilboard sits under every sheet, so it takes the full load of tool pressure, vacuum pull, clamp marks and the odd missed cut. Over time it can swell, dish, groove or become uneven, especially in humid coastal conditions or in workshops where doors stay open for dust extraction and material handling.
When the surface is not level, the machine may cut through in one corner and leave tabs in another. That extra 0.5 mm can cost a full sheet of MDF or acrylic. On nesting jobs, spoilboard condition matters just as much as tool sharpness, because the machine is only as accurate as the surface it is cutting against.
For South African workshops, spoilboard care also helps when power interruptions happen. If a job stops and restarts, a damaged bed makes it harder to trust the reset position. Keeping the spoilboard in good shape gives operators one less variable to fight with.
Signs the spoilboard needs attention
Most teams wait until parts start lifting or cut depths vary, but the warning signs usually show earlier. A quick check before the first job of the week can save time and material. In Germiston and other busy industrial areas, where machines often run from morning to late afternoon, these checks should be part of the normal start-up routine.
- Visible grooves from repeated cutting paths or damaged tooling
- Surface swell from moisture, especially near open loading bays
- Vacuum hold that is weaker in some zones than others
- Parts cut deeper on one side of the table than the other
- Fasteners or hold-down points becoming exposed
- Dust building up under the sheet and causing false height readings
If the spoilboard has gone soft or uneven, skim cuts may help for a while, but they are not a cure. Once the board loses consistency through its full thickness, it is time to re-surface or replace it.
A practical resurfacing routine that works
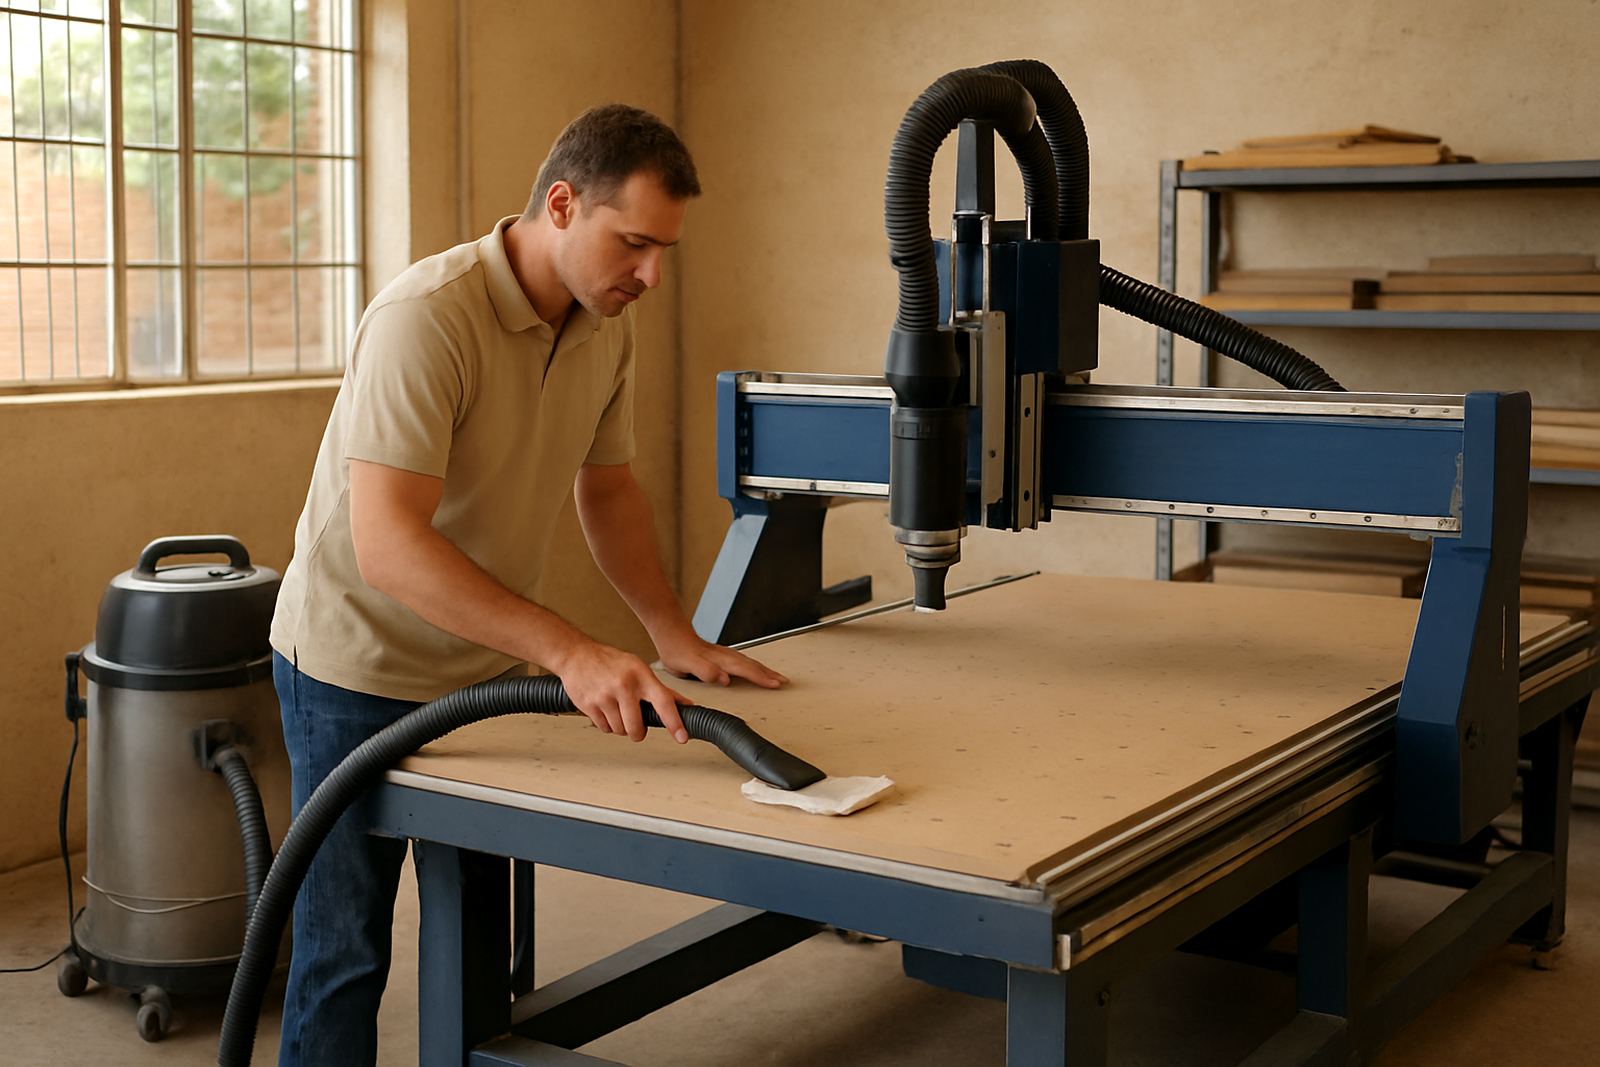
Resurfacing should be done with a clear method, not by eye. Start by checking that the table is clean, the vacuum zones are working properly and the spindle is in good condition. A flat cutter path can only correct what is already there, so remove dust and offcuts before you begin.
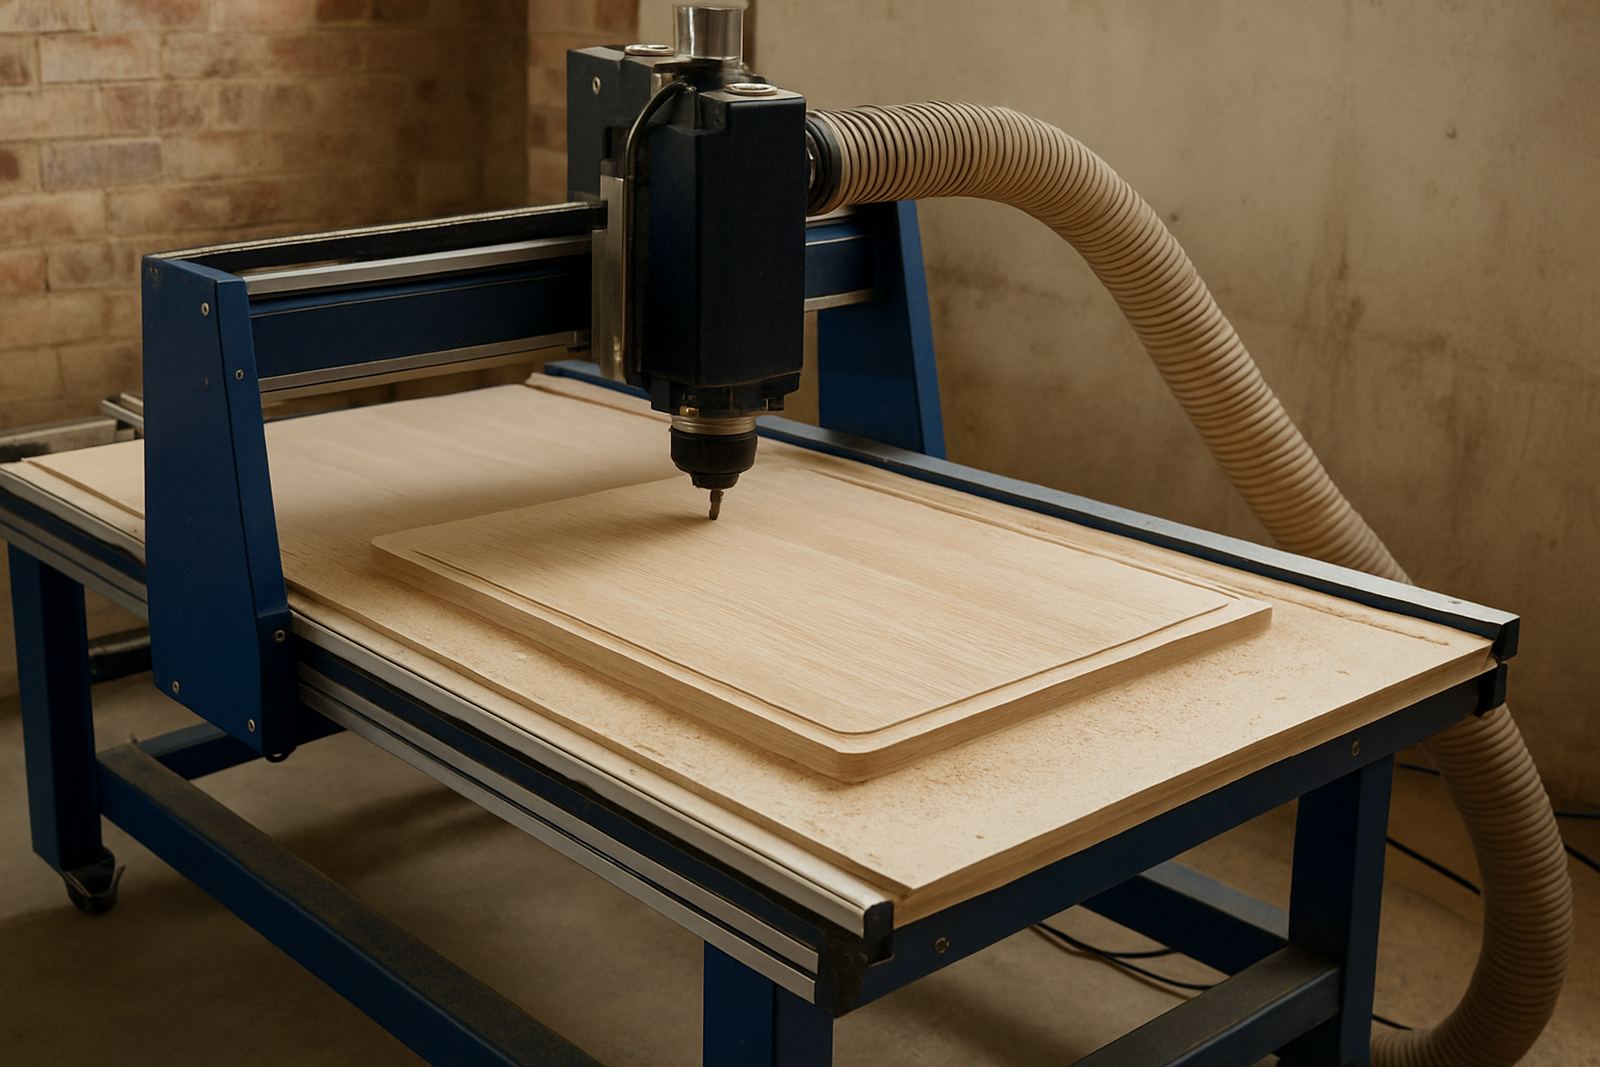
Use a light skim pass to bring the surface true. Take only what is needed, then measure several points across the table. The goal is not a perfectly polished board, it is a predictable working plane that stays within tolerance for the material you cut most often. For many shops that means checking the middle, the corners and the areas where sheets are clamped or loaded most often.
- Vacuum the table and channels first
- Check for lifted screws, nails or damaged fasteners
- Skim in measured passes rather than taking too much at once
- Record how much material was removed
- Mark areas that wear faster so the team can watch them next time
If your machine handles both wood and plastic, keep an eye on chips that melt or pack into the surface. These deposits can fool operators into thinking the board is flat when it is actually uneven underneath.
Humidity, dust and load-shedding all affect the bed
Spoilboards fail faster when the workshop environment is rough. In Durban North, humidity can push moisture into the board between shifts. In dry inland workshops, fine dust can settle into pores and affect vacuum hold. In both cases, the spoilboard needs regular inspection if you want repeatable cutting depth.
Load-shedding adds another layer of trouble. If a machine stops mid-job, a sheet may sit in one position for longer than planned, especially if operators are waiting for power to return. That can leave impressions on the bed or soften certain areas from heat and pressure. After an interruption, it is worth checking both the spoilboard and the sheet before restarting production.
A small local example: a Germiston joinery workshop running melamine carcass parts found that the same program was cutting clean on Monday but leaving shallow areas by Thursday. The cause was not the toolpath. The spoilboard had developed low spots near the front edge where sheets were loaded all day. Once the bed was resurfaced and the loading pattern changed, depth consistency improved straight away.
How to extend spoilboard life without slowing production
Good spoilboard care is mostly about habits. The team does not need to stop production, only to build a few checks into normal workflow. When operators know what to look for, the bed lasts longer and jobs stay more consistent.
- Rotate cutting layouts so the same area is not used every day
- Keep offcuts and dust from sitting on the bed overnight
- Use correct tooling for the material, so the spoilboard is not overcut
- Replace damaged hold-down hardware before it marks the surface
- Back up machine settings after any controller change
- Train operators to spot wear before it affects finished parts
Teams that cut often can also plan spoilboard maintenance around quieter shifts or end-of-week clean-downs. That helps avoid the rush of trying to flatten a board when a delivery truck is already waiting outside.
When replacement is better than another skim cut
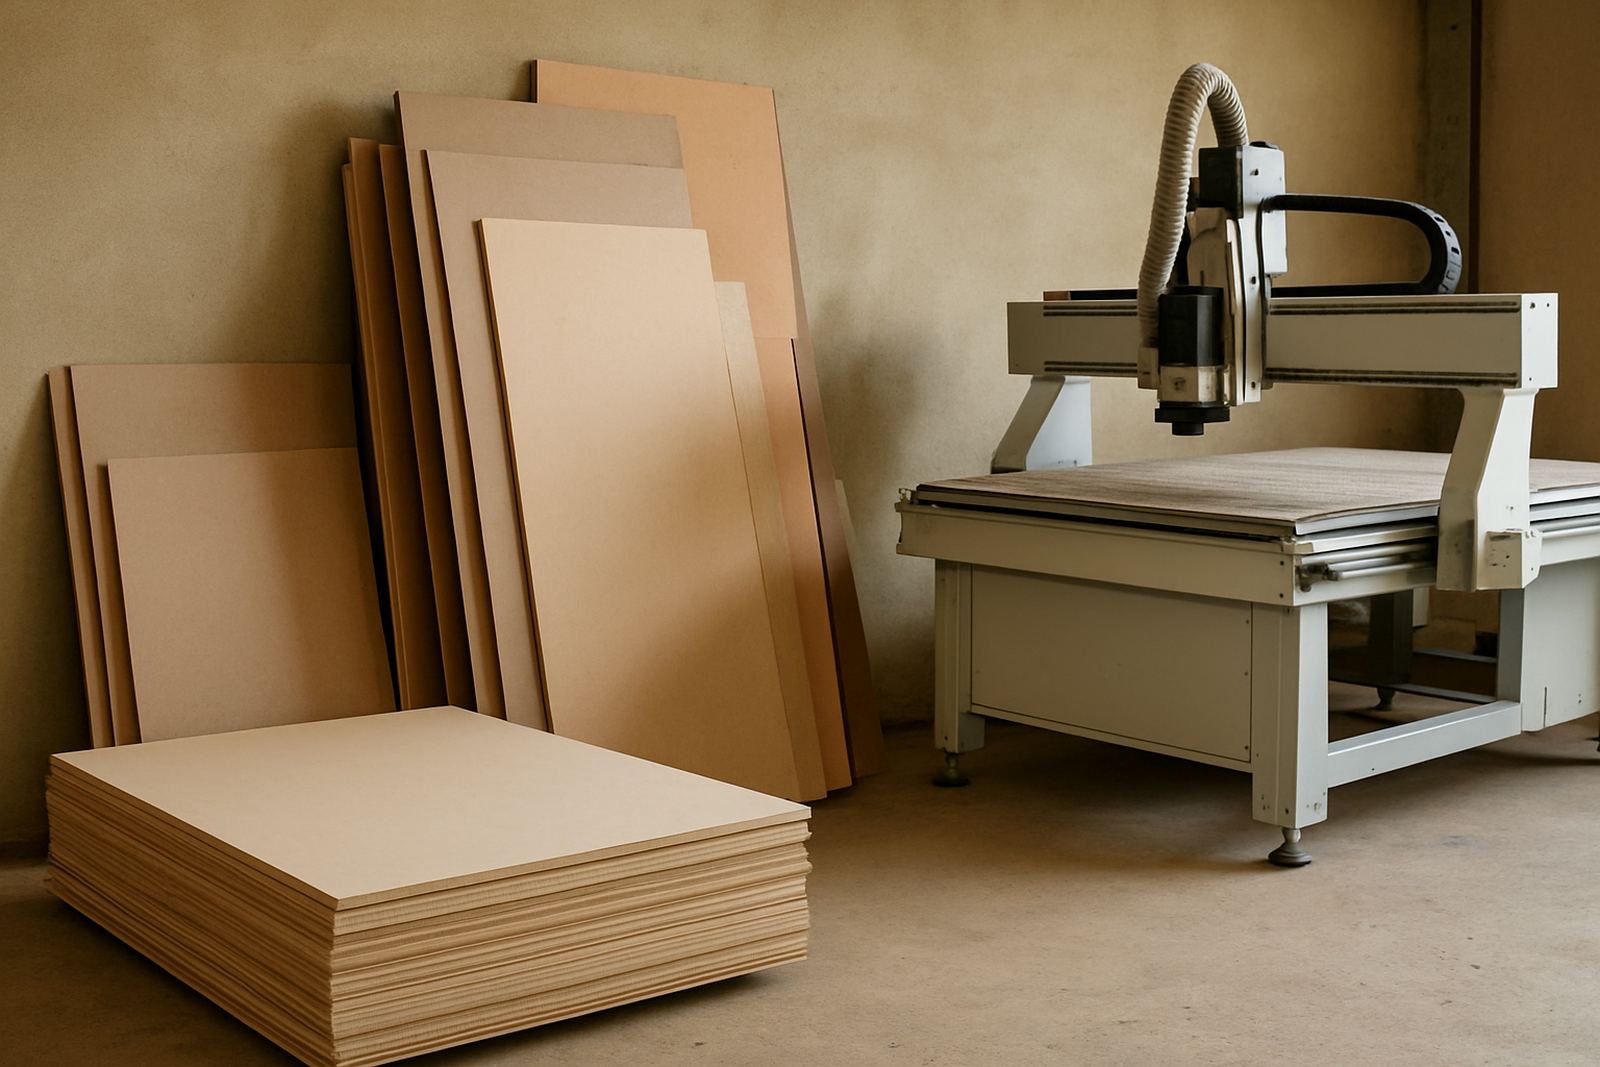
At some point, resurfacing stops being economical. If the spoilboard is already thin, if fasteners are close to the surface, or if the board keeps losing flatness after every pass, replacement is the smarter choice. Continuing to skim an exhausted board can create more problems than it solves.
Replacement is usually due when the surface no longer supports a steady vacuum hold, when the board has internal damage, or when the depth variations keep returning after only a short period. In production work, that inconsistency costs more than a new board would.
A fresh spoilboard also helps with setup confidence. Operators can trust the program, the cutting depth and the hold-down system. That makes it easier to run repeat jobs, which matters for sign shops, furniture makers and sheet processors working to tight deadlines.
Simple checks that protect every job
Before the first cut of the day, a few small checks can prevent a lot of waste. These checks are quick, practical and worth assigning to the operator on shift rather than leaving them for service day. If the spoilboard is part of the machine routine, it will stay in better shape for longer.
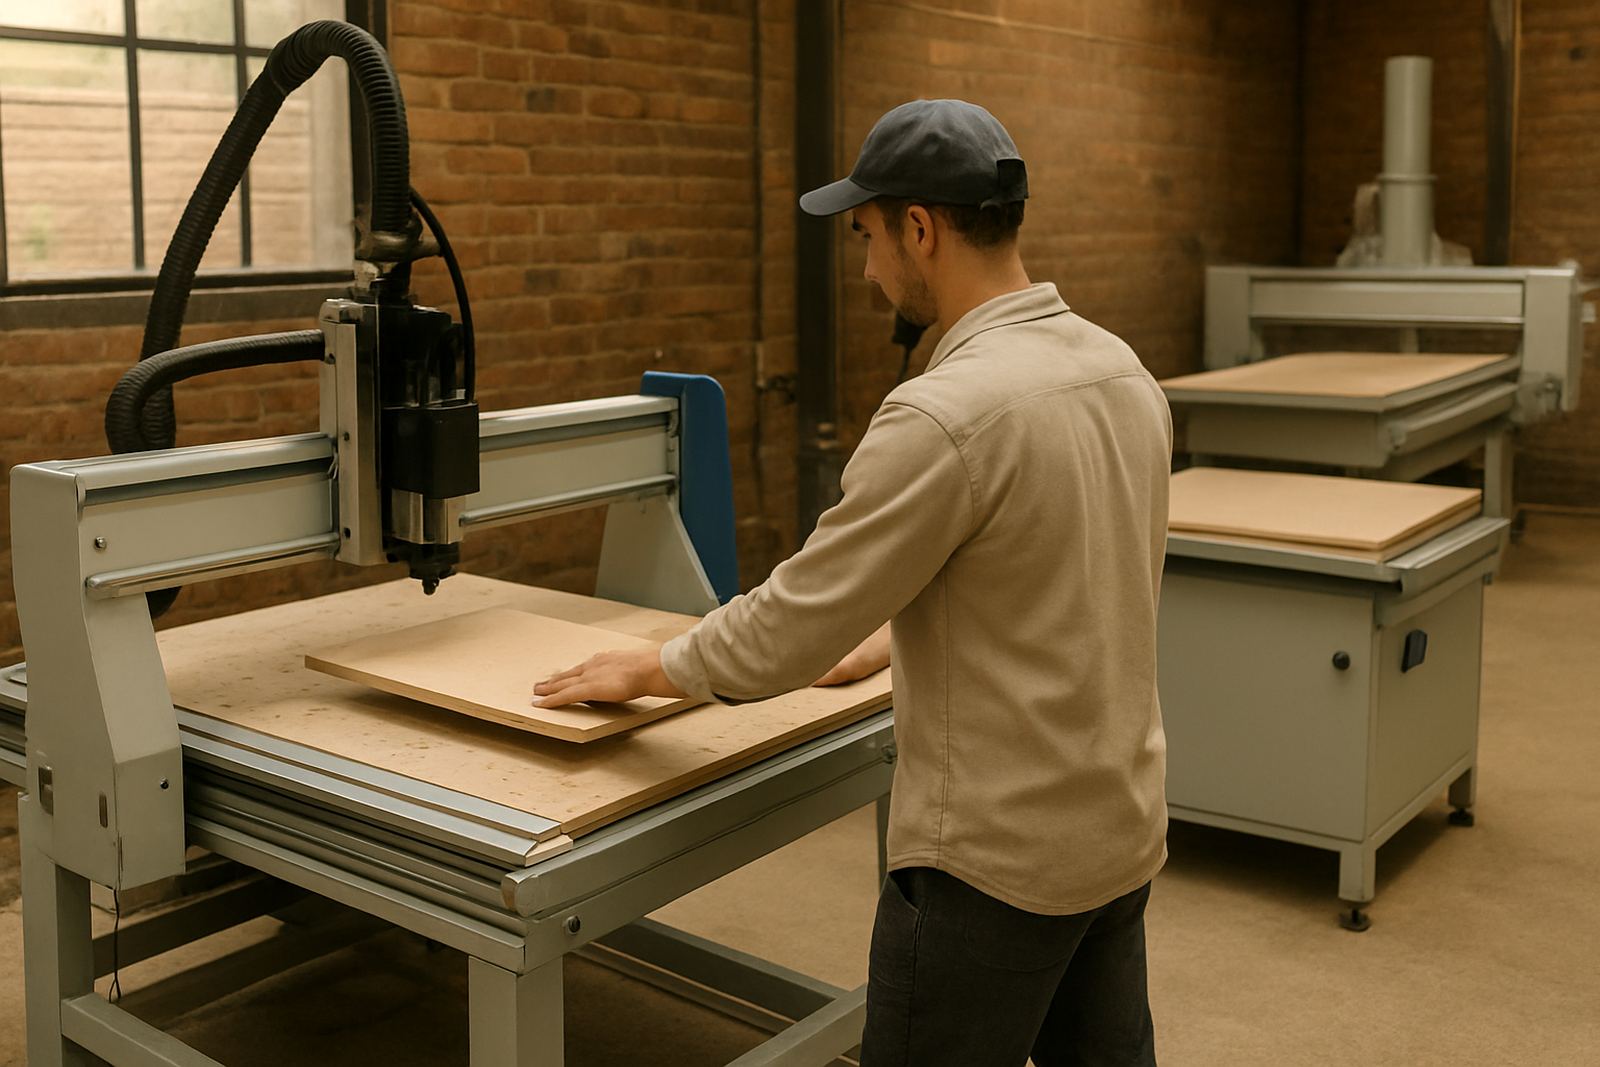
- Run a hand over the surface for raised spots or grooves
- Check that suction is even across the full table
- Confirm the spoilboard is clean after each shift
- Measure cut depth at more than one point on the table
- Log resurfacing dates so wear patterns can be tracked
For workshops in Johannesburg East, Midrand or Pretoria East, where production schedules change fast, these checks help keep jobs on time and reduce surprises. A spoilboard that stays flat and clean makes the whole CNC process easier to trust, from first sheet to final part.