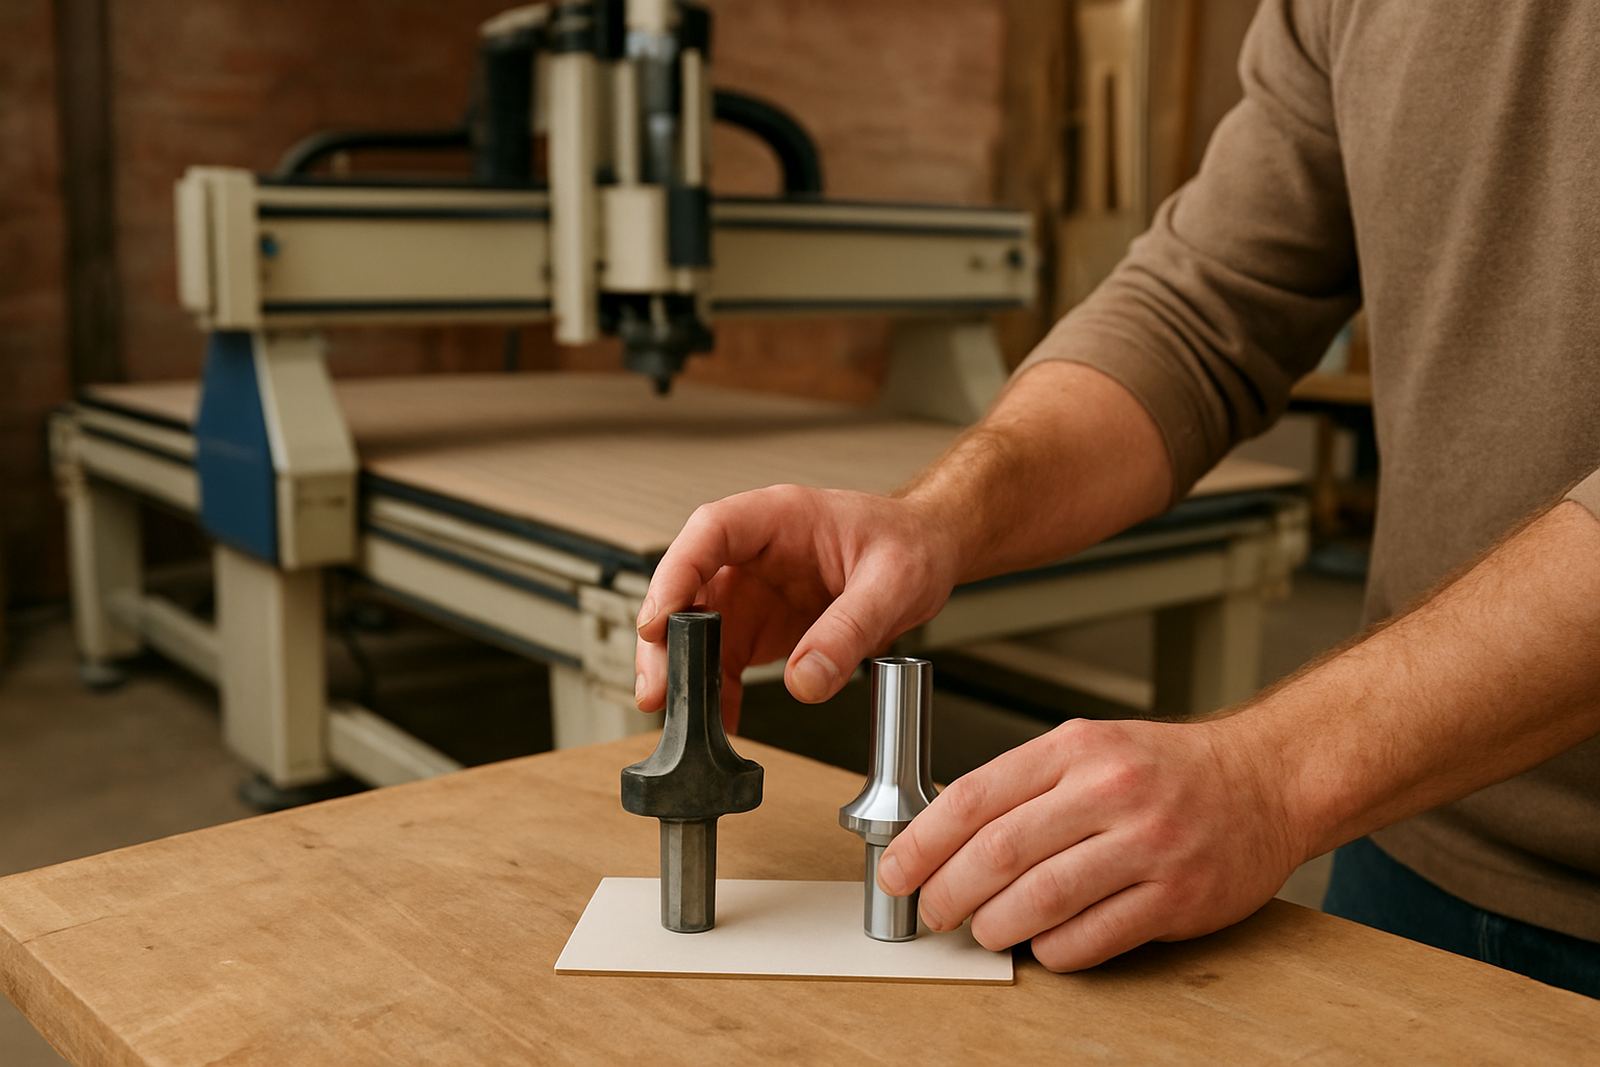
Start With a Cutter Log the Team Will Actually Use
Most workshops lose track of tool life because the record keeping is too complicated. A cutter log does not need to be fancy, it just needs to capture the basics every shift: material type, machine, operator, tool number, spindle speed, feed rate, number of parts cut and any signs of wear. If the same tool cuts 20 boards one week and 12 the next, the reason is usually in the setup, not the cutter alone.
Keep the log close to the machine, not in a separate file that nobody opens. When teams can see what happened on the last job, they stop guessing. That matters in Germiston workshops where jobs move quickly between melamine, MDF, acrylic and light aluminium. Different materials wear edges in different ways, so one cutter cannot be judged on one type of part only.
- Record the date, operator and job name at changeover
- Note any burn marks, chatter, tear-out or rough edges
- Write down the exact feed and speed used
- Mark when a cutter is first installed and when it is removed
Match the Tool to the Material, Not the Habit
A cutter that performs well on board may fail early on plastics or soft metals if the flute shape, coating or diameter is wrong. The habit in many shops is to use one familiar tool for everything. That may save a few minutes on the day, but it usually costs more in scrap and early tool changes.
For wood-based panels, chip evacuation and heat control matter most. For plastics, the goal is a clean cut without melting or re-welding along the edge. For soft aluminium, tool rigidity and a steady chip load become critical. A proper match between the cutter and the job helps the tool stay cooler, and cooler tools last longer.
- Use cutters designed for the actual stock thickness
- Keep the tool projection as short as possible
- Check whether the job needs compression, upcut or downcut behaviour
- Do not stretch one cutter across mixed materials without checking wear
Small differences in material can make a big change to cutter life. A laminated panel may cut cleanly one day and chip badly the next if the board quality shifts. That is why it helps to note the supplier batch or sheet type when the workshop sees repeat issues.
Hold the Setup Steady from the First Part to the Last
Tool life often looks like a cutter problem when it is really a setup problem. A machine that is slightly out on table flatness, vacuum hold or Z reference will load the cutter unevenly. The edge then works harder in one section of the cut and wears out before it should.
Consistency matters more than perfection. If every job starts with the same homing routine, the same vacuum check and the same cutter length check, the team can compare one run to the next. Without that, wear readings become meaningless. Even a small error in the setup can show up as rough edges, extra heat and a poor finish.
- Check vacuum zones before long production runs
- Confirm tool length offsets after any cutter change
- Make sure spoilboards are level and in good condition
- Keep clamping clear of the cutting path to avoid sudden load spikes
Watch for Wear Signs Before the Cutter Gives Up
Operators should not wait for a full breakage to replace a tool. Most cutters give warnings first. The finish changes, edges start to look fuzzy, the spindle note shifts or the machine leaves dust where it once left chips. On softer materials there may be more heat, a slight smell or a glazed edge. These signs are easy to miss when the team is rushing, so a short inspection between jobs helps a lot.
Train operators to look for repeat patterns. If the same tool always fails early on the same part, the problem may be feed rate, board holding or dust extraction rather than the cutter itself. If the wear pattern is uneven, check whether the toolpath is overworking one side. A cutter that is damaged on only one face is usually telling you something useful.
- Check edges under light, not only by feel
- Keep a sample part from the first good run
- Swap a tool at the first clear sign of heat damage
- Separate normal wear from chatter, runout and bad extraction
That last point matters in workshops around Johannesburg and the East Rand, where dust can build quickly and hide the first warning signs. When extraction falls behind, cutters run hotter and the finish starts to suffer sooner than expected.
Keep Dust and Chips Moving So Heat Does Not Build Up
Poor dust extraction shortens cutter life in a very direct way. Chips left in the cut rub against the tool, raise the temperature and reduce the edge life. In summer, when humidity is higher and the workshop is already warmer, that extra heat can become a real problem.
Dust systems should be checked as part of normal maintenance, not only when the operator complains. Blocked hoses, split pipe joints and weak airflow all affect cutting quality. A machine may still run, but the cutter will be doing more work than it should. If the shop handles nested sheets, long cuts and back to back jobs, extraction balance must be part of the daily routine.
- Empty collection bins before they overflow
- Check for leaks at hose joins and machine seals
- Clean filters on a fixed schedule
- Use extraction settings that suit the material and toolpath
Good dust movement also helps with housekeeping and safety. Less waste around the machine means fewer slips, fewer stopped starts and less time spent cleaning parts before packing.
Plan Maintenance Like Part of Production, Not an Afterthought
Tool life improves when the machine itself is kept in good order. Spindle service, vacuum leak checks, controller backups and regular alignment checks all help the cutter work under steady conditions. If a spindle runs with play or a vacuum zone is weak, even good tooling will wear faster than expected.
A practical maintenance plan should include quick checks every day, deeper checks every week and a service interval that suits the hours the machine actually runs. Workshops that only service after a failure often lose more in scrap and downtime than they save on the service itself. In South African shops where load-shedding or generator use is part of daily life, power interruptions can also affect setup consistency, so controller backups and restart routines matter too.
For mixed production, the team should also agree on when a tool is retired. If every operator makes that call differently, cost tracking becomes messy. A shared rule, backed by the applications team and the service coordinator, makes planning easier and keeps the cut quality steadier from job to job.
A Germiston Example: Small Changes That Saved Cutter Budget
A furniture workshop near the Germiston base was losing cutters too quickly on repeated board nesting jobs. The team blamed the tooling at first, but the pattern showed something else: one operator changed feed settings between shifts, the spoilboard had low spots, and the dust system was partly blocked. Once the team standardised the setup, logged every cutter change and checked vacuum before the first sheet of the day, tool life improved within weeks.
The biggest gain was not from buying expensive cutters. It came from using the same cutting habits every time. The workshop also started separating tools by material type and keeping a simple note on which jobs caused heat or edge damage. That made it easier to train new staff and reduced the number of parts that needed rework. In a busy production room, that kind of improvement matters more than a big sales pitch.
When a cutter starts lasting longer, the whole workflow calms down. Less waste, fewer stoppages and better predictability make the job easier for the operator and cheaper for the business.