Start With The Material, Then Match The Cut
The right tool starts with three questions: what material are you cutting, how thick is it, and what finish do you need off the machine. A sign shop cutting 3 mm ACM needs a very different cutter from a joinery shop nesting 16 mm MDF or a fabricator trimming aluminium sheet. If you begin with the finish, you often end up forcing the tool to do work it was never meant to do.
For most shops, the first goal is clean chip removal. If chips stay in the cut, heat rises, edges burn, plastics melt and the spindle works harder than necessary. Keep that in mind before chasing speed. In our climate, especially in humid coastal areas, plastics can behave differently from the dry inland conditions around Gauteng so test a short programme before running a full sheet.
Starter Tool Choices For Wood And Board
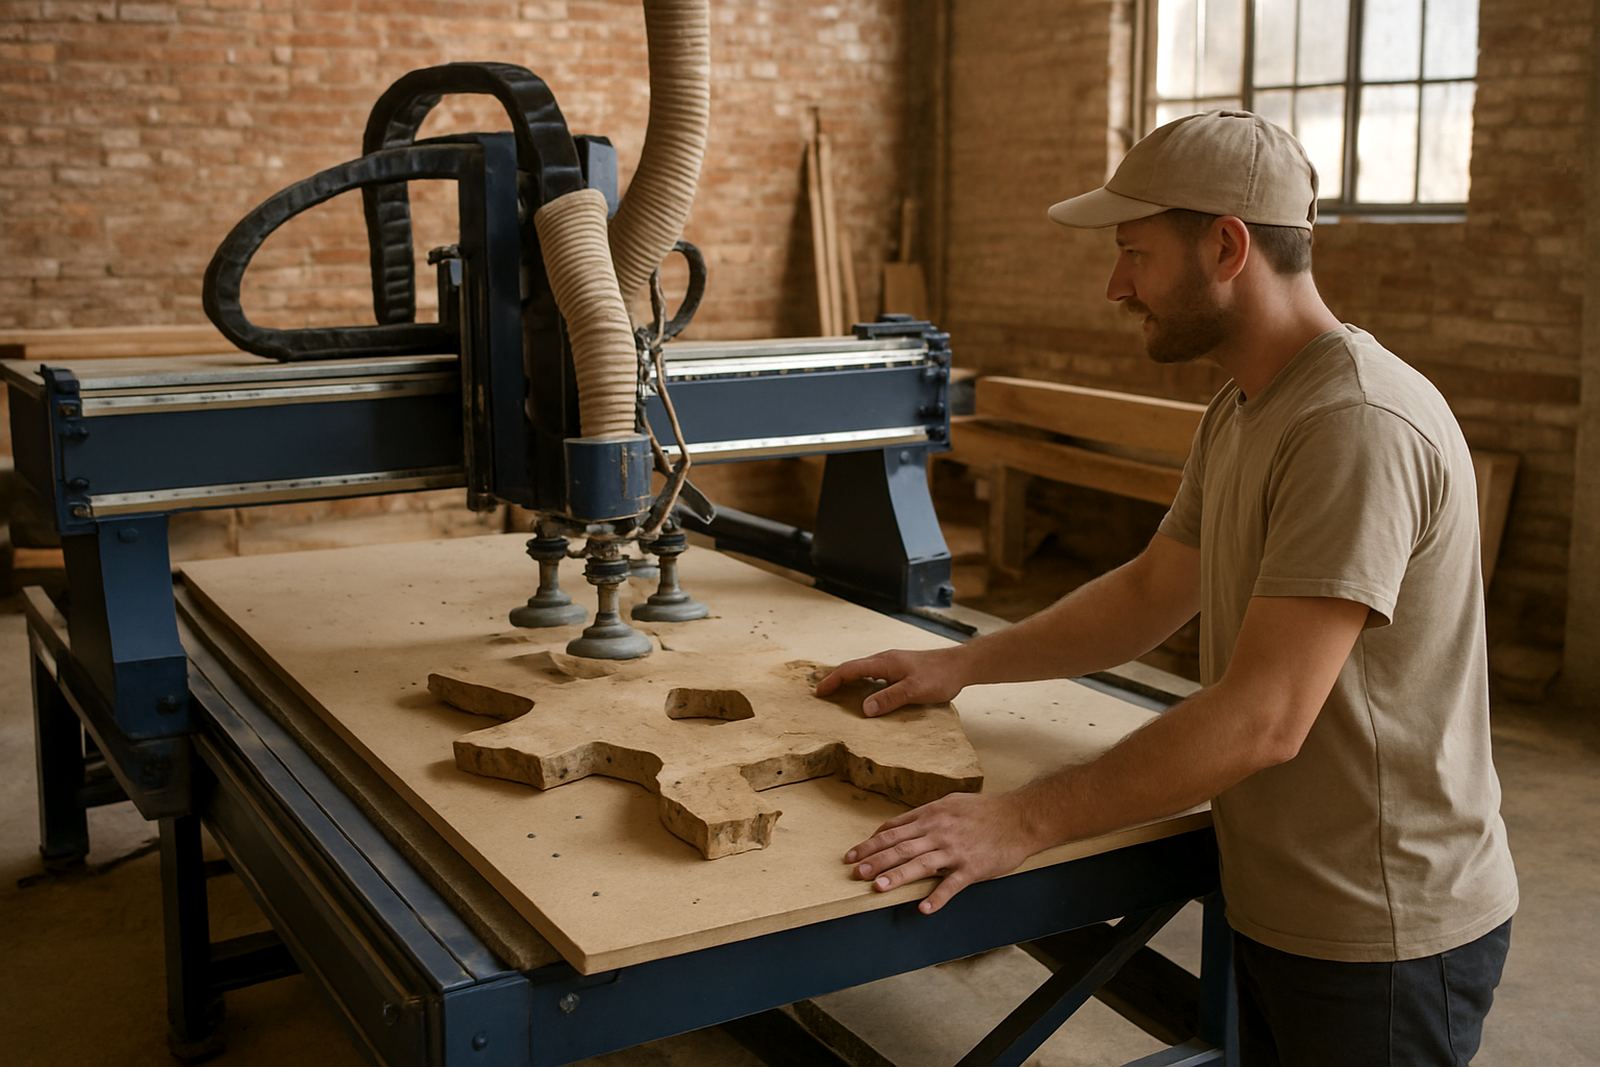
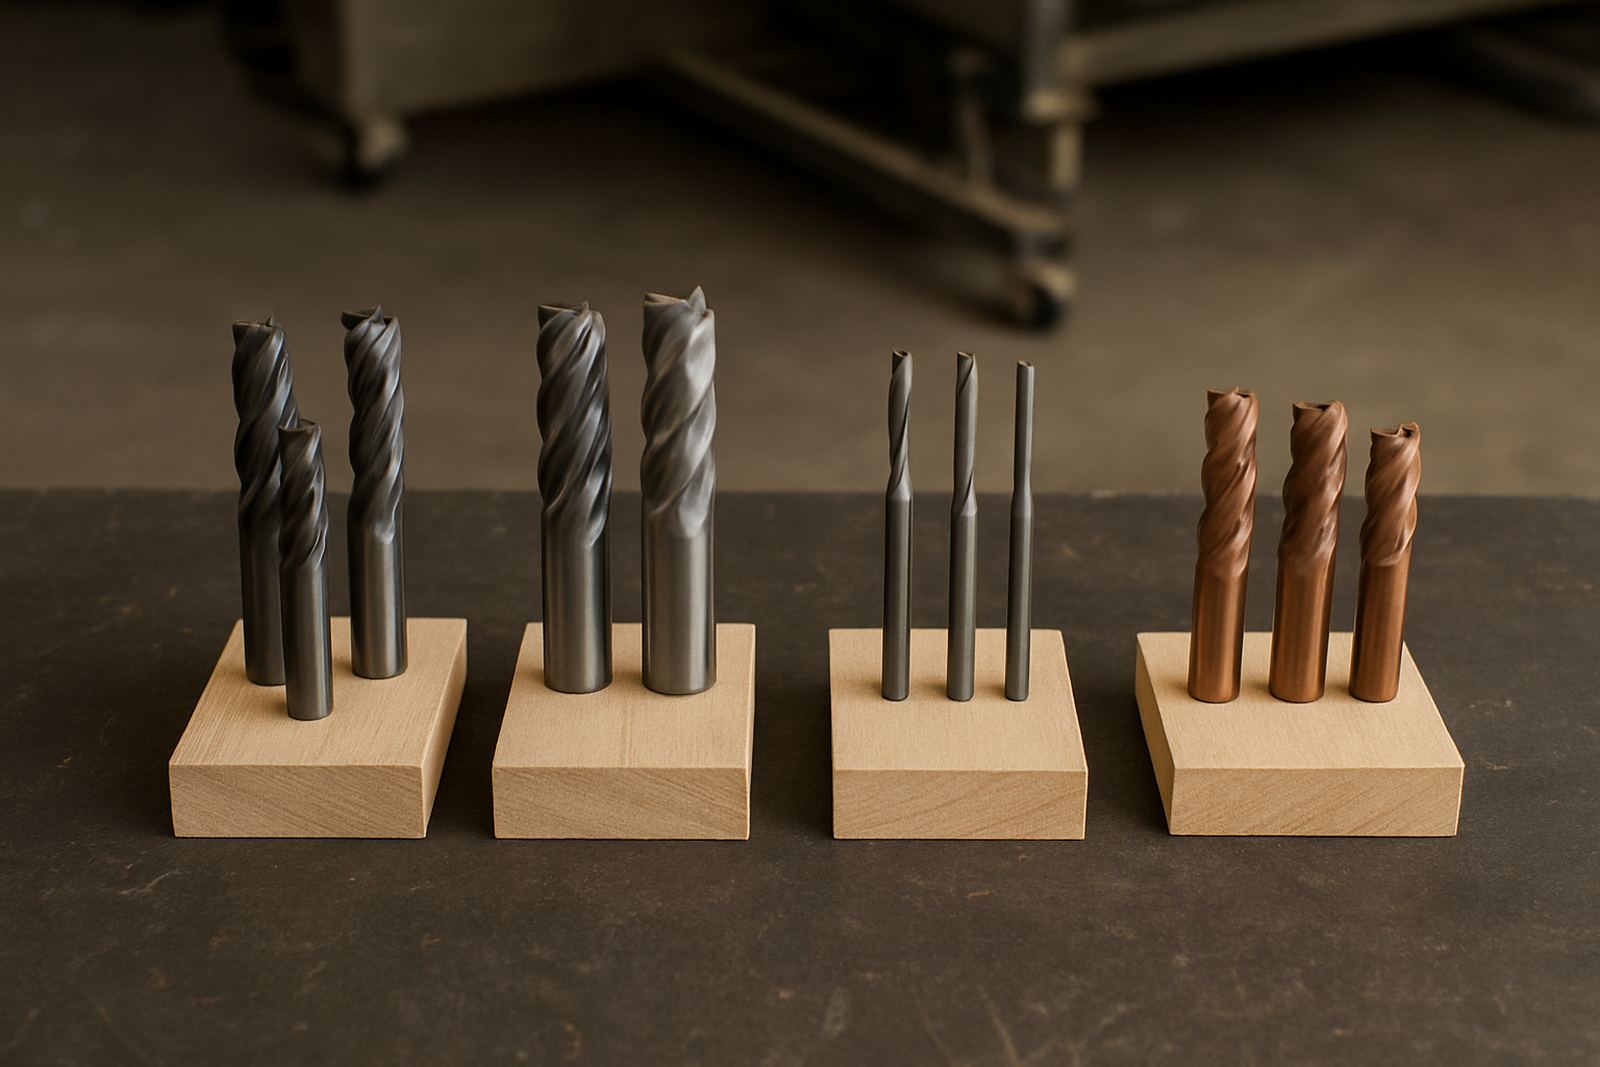
Wood products are usually the easiest place to build a tooling set. A single straight cutter can do profiling, pocketing and basic nesting, while spiral cutters help with cleaner edges and better chip evacuation. For MDF and particle board, a compression style tool is often the first choice when you want a cleaner top and bottom edge on laminated sheets.
- Use a straight cutter for general purpose routing and simple pockets.
- Use an upcut spiral when chip clearing matters more than edge finish.
- Use a downcut spiral when you want a cleaner top face on thin boards.
- Use a compression cutter for laminated board and nesting jobs.
Keep an eye on dust extraction. Wood dust builds up fast, and if the tool is already running hot the extra packing around the cutter can shorten tool life. A clean table and correct vacuum hold-down also help, because parts that move even slightly can leave burn marks or chatter.
Plastics Need Lower Heat And Cleaner Chips
Plastics are where many first-time operators get caught out. If the cutter rubs instead of slicing, the edge can melt and weld back onto the cut line. That is why tool geometry, feed rate and spindle speed need to work together. Acrylic, PVC-free signage sheet, HDPE and similar materials all need a sharp tool and enough chip load to keep the cut cool.
For thin plastics and sign work, a polished cutter often gives better results because chips clear more easily. On thicker sheets, a single flute tool can help because it makes a larger chip and gives the machine room to move material away from the cut. Do not rely on slowing the machine too much, because slow cutting can create heat and poor finish instead of solving the problem.
- Choose sharp tools with good chip clearance.
- Use air assist or strong extraction where suitable.
- Run a short test cut before full production.
- Watch for melting, re-cut chips and white stress marks on edges.
Soft Metals Ask For Control And Consistency
Soft metals such as aluminium need more control than wood, but they do not always need aggressive tooling. A cutter that works well on board may not handle metal cleanly if the flute design cannot clear chips properly. Chip packing is the main problem, because once chips stay in the cut the tool starts rubbing and the finish turns messy very quickly.
For aluminium, use the right tool for the profile or pocket, keep the setup rigid and make sure the work is clamped or vacuum-held properly. Check that the table is level, the vacuum zones seal well and the cutter is not picking up swarf from a previous pass. Small errors add up fast on longer jobs, especially when a workshop is trying to keep up with deadlines before a municipal inspection or site install.
A Practical Setup Check Before You Run The Job
Before any batch run, it helps to follow the same basic check every time. This reduces surprises and makes it easier for operators to spot a problem early. A clean process is especially useful in busy Gauteng workshops where the same machine may move from MDF in the morning to acrylic or aluminium later in the day.
- Confirm the tool matches the material and thickness.
- Check spindle speed and feed rate against the job size.
- Inspect collet, holder and cutter for wear or damage.
- Make sure dust extraction or chip removal is working properly.
- Check vacuum zones, clamps and spoilboard condition.
- Run a small test path before starting the full nest.
If the first test cut looks wrong, stop and correct it. A few minutes spent checking saves material and avoids sending a poor edge to finishing or assembly. It also helps newer operators build confidence, because they are not guessing their way through each material change.
How To Build A Starter Tooling Set
You do not need a large drawer of cutters to begin well. A sensible starter set covers most day to day work and can be expanded once your team sees what is used most often. Many shops begin with one general purpose cutter for board, one cleaner edge tool, one plastic cutter and one aluminium cutter. From there, the set can be adjusted to suit the jobs that come in most often.
Keep a simple log of what tool was used, how long it ran and what finish it produced. This makes re-ordering easier and helps with preventative maintenance too. If one cutter starts leaving marks after only a short run, the issue may be feed, spindle condition or material quality rather than the tool itself.
- List your top five materials by volume.
- Match one tested cutter to each material group.
- Record feeds, speeds and cutting depth for repeat jobs.
- Set aside spare collets and common consumables.
When To Ask For Tooling Advice
Good tooling advice can save time when you are changing materials, adding a new machine or trying to improve finish on an existing process. If your shop is seeing edge burning, tool breakage, poor vacuum hold or excessive rework, it usually means the cutting setup needs attention, not only a new cutter. That is where practical machine support helps, because tooling has to suit the router, the table and the operator as one system.
For MultiCAM users across Germiston, Johannesburg East, Midrand, Pretoria East, Durban North and Cape Town North, the best results usually come from a short on-site test, clear setup notes and a repeatable process. Once the cut is stable, production becomes easier to plan and the team spends less time correcting avoidable errors.