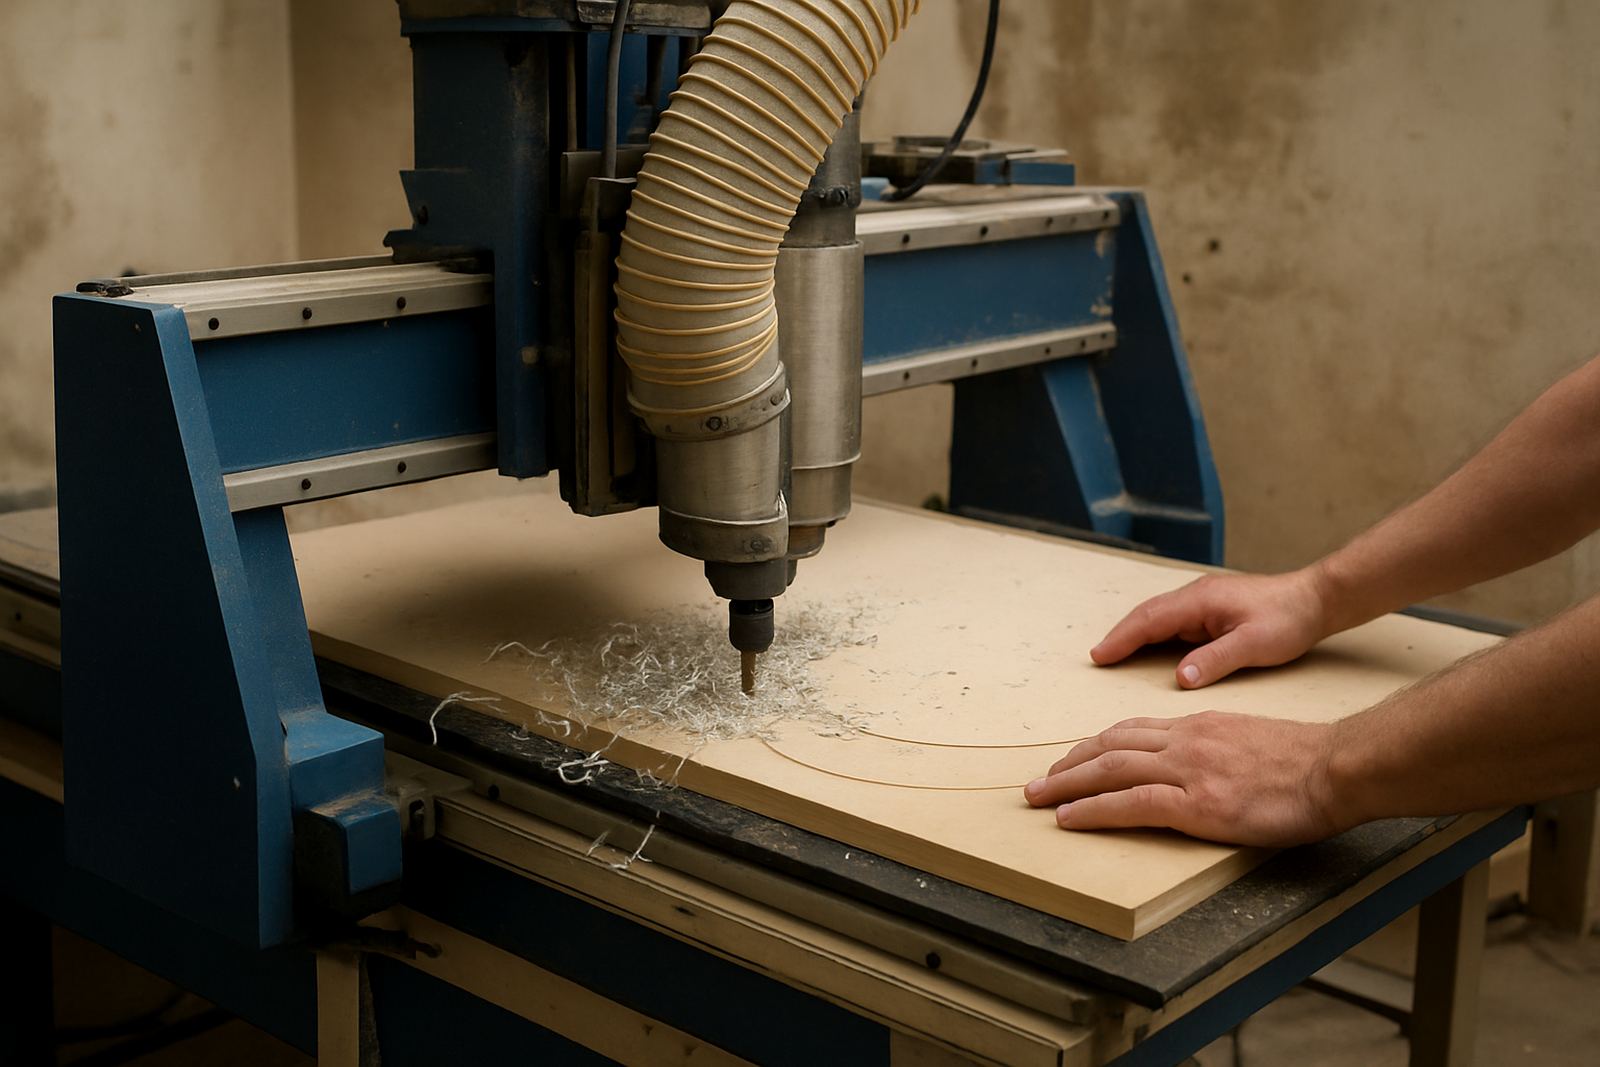
Why plastic chips need more attention than wood dust
Plastic is not forgiving in the same way as timber. Wood dust can scatter and still leave a usable edge, but plastic chips can weld back onto the slot if the tool rubs, the spindle is too slow, or the flute cannot clear the cut. That is when you get melted edges, stringy swarf, poor finish and a part that needs extra hand cleaning before assembly.
In sheet goods like acrylic, PVC, HDPE and similar materials, the chips are part of the cooling system. If they stay trapped in the kerf, they hold heat against the tool and the workpiece. The result is chatter, premature tool wear and more scrap. Good chip control is really heat control, and on a CNC router that starts with the cutter choice and the way the machine is set up.
Choose tooling that lifts chips out, not just cuts through
Tooling choice makes a big difference on plastics. A cutter that works well on MDF may not suit sign board or engineering plastics. You want a geometry that clears chips upward or outward, depending on the material and the finish you need. For some plastics a single flute is easier to clear, while others need a two-flute pattern with enough space for chip evacuation.
- Use sharp cutters and replace them before they start polishing the edge.
- Match flute count to the plastic type and thickness.
- Keep tool stick-out as short as the job allows to reduce flex.
- Check collet cleanliness so the tool runs true.
We also tell operators to watch the first few parts closely. If the chips are powdery and hot, or the edge looks smeared, the tool is rubbing rather than cutting. A small change in cutter style or feed rate can fix that quickly.
Feeds, speeds and the quiet signs of too much heat
Most plastic chip problems begin with heat, and heat usually begins with a poor balance between spindle speed and feed rate. Running too slowly can be as bad as running too fast. If the cutter dwells in the cut, the plastic softens. If the feed is too aggressive for the machine or the hold-down, the cutter starts bouncing and leaves a rough edge.
A practical setup test on the first sheet is better than guessing. Cut a short path, inspect the chip shape, then adjust one variable at a time. In a Germiston workshop we often see operators improving finish simply by increasing feed slightly and reducing spindle speed, then checking vacuum hold-down so the sheet does not lift. Small changes matter more than people expect.
- Listen for a clean cutting sound, not a squeal or a chatter.
- Look for chips, not melted curls stuck to the tool.
- Stop and inspect if the edge starts whitening, glazing or browning.
- Keep a job note for each plastic type once you find a good setting.
Vacuum hold-down and table condition affect chip evacuation
When the sheet moves even slightly, the cutter starts re-cutting material and the chips become finer and hotter. That is why vacuum hold-down is not only about fixing the sheet in place. It also helps maintain a consistent cut depth so chips can exit the slot properly. On porous boards, leaks in the table or damaged gasketing can steal hold-down force and leave the operator chasing problems all shift.
For plastics with smaller offcuts, a clean spoil surface and well sealed zones help stop parts from lifting into the cutter path. Where a workshop runs in a dusty area, especially near busy industrial roads, table and pipe leaks build up faster than expected. Add the humidity we get on the coast and you have a reason to keep seals, clamps and filters in regular check.
Good chip control often improves once the table is balanced properly and the vacuum system is not fighting hidden losses.
Dust extraction, chip collection and workshop housekeeping
Plastic chips are light, static-prone and easy to spread around a shop. They can block brushes, cling to panels and end up inside guides or controllers if the area is not managed properly. That is why dust extraction and chip collection must suit the material, not only the machine size. A plastic job can produce long ribbons, fluffy chips or fine static dust depending on the cutter and the stock.
In a small production cell, the cleaner the chip path, the fewer stoppages you get. Do not leave piles under the bed because they can get drawn back into the cut or interfere with nesting accuracy on the next sheet. In South African workshops where load-shedding interruptions are still a reality, it also helps to clear chips before restarting after a power cut so the tool does not re-enter a packed slot.
- Empty collection bins before they overflow back into the machine area.
- Brush down rails, covers and cable tracks after plastic runs.
- Separate plastic chips from wood waste where possible.
- Check static build-up if chips cling to the table or spoilboard.
A Germiston example: better chip flow, fewer reworks
A sign shop in Germiston was cutting sheet plastics for display panels and internal lettering. Their problem was not the machine itself, but the way chips were sitting in the cut. The edge quality looked fine at first glance, yet parts needed extra trimming because of small melted lips on the underside. After a setup review, the team changed cutter type, lifted the feed rate slightly and checked vacuum zones for minor leaks.
The difference showed up in the first batch. Chips started clearing properly, the cutter stayed cooler and the parts dropped out cleaner. More importantly, the operator had a repeatable setup sheet for the next order. That matters in a local workshop where one day you are cutting acrylic, the next day PVC or plastic faced panels, and you cannot afford trial and error on every job.
That kind of practical adjustment is where machine guidance, tooling notes and on-site training save time. It is not about chasing perfect theory. It is about getting a part off the table cleanly, on schedule and without surprise rework.
What to check before the next plastic run
Before you start a plastic job, do a quick system check. The best chip control comes from the whole setup working together, from tool condition to extraction and table hold-down. A few minutes spent here can save an hour later.
- Confirm the correct cutter for the plastic type and sheet thickness.
- Verify spindle speed, feed rate and cut depth against the material.
- Inspect vacuum zones, gaskets and pipe joints for leaks.
- Make sure extraction is clear and the chip bin is empty.
- Run one test path and check the chip shape and edge finish.
If the chips are clearing well, the cut stays cooler and the finish improves without forcing the machine. That is the goal on every plastic job, whether the workshop is in Johannesburg East, Midrand or a coastal branch where humidity and static bring their own problems.